The Trick to Golden, Crunchy Cornbread Starts Before the Batter Hits the Skillet
A golden cornbread crust is not just about what goes into the mixing bowl. It is also about what happens when the batter meets the pan. A greased, preheated cast-iron skillet gives the bread a head start on developing that crisp exterior. King Arthur Baking recommends this technique for a crispier crust, and Lodge makes preheating central to its cornbread advice. The key upgrade isn’t simply using cast iron; it is using it hot.
That means your skillet should get some oven time before the batter arrives. Lodge recommends putting it in the oven as the oven preheats, noting that warming the pan usually takes 10 to 15 minutes. The company explains the advantage: “Cast iron works best because it gets hot and stays hot,” helping produce a “crispy, golden-brown crust.” A cold skillet can still bake your cornbread, but these baking sources recommend preheating when you want crunch.
The good news is that this approach works with more than one style of cornbread. Southern food writer Sheri Castle’s skillet recipe uses bacon fat, buttermilk, and no sugar, while Susan Reid’s King Arthur recipe includes milk, butter, oil, and a modest amount of sugar. Both offer a way to bake cornbread in a cast-iron skillet. You do not have to settle the great sweet-versus-savory debate before improving the crust; you need a tested recipe and a properly prepared pan.
Give the Skillet a Head Start
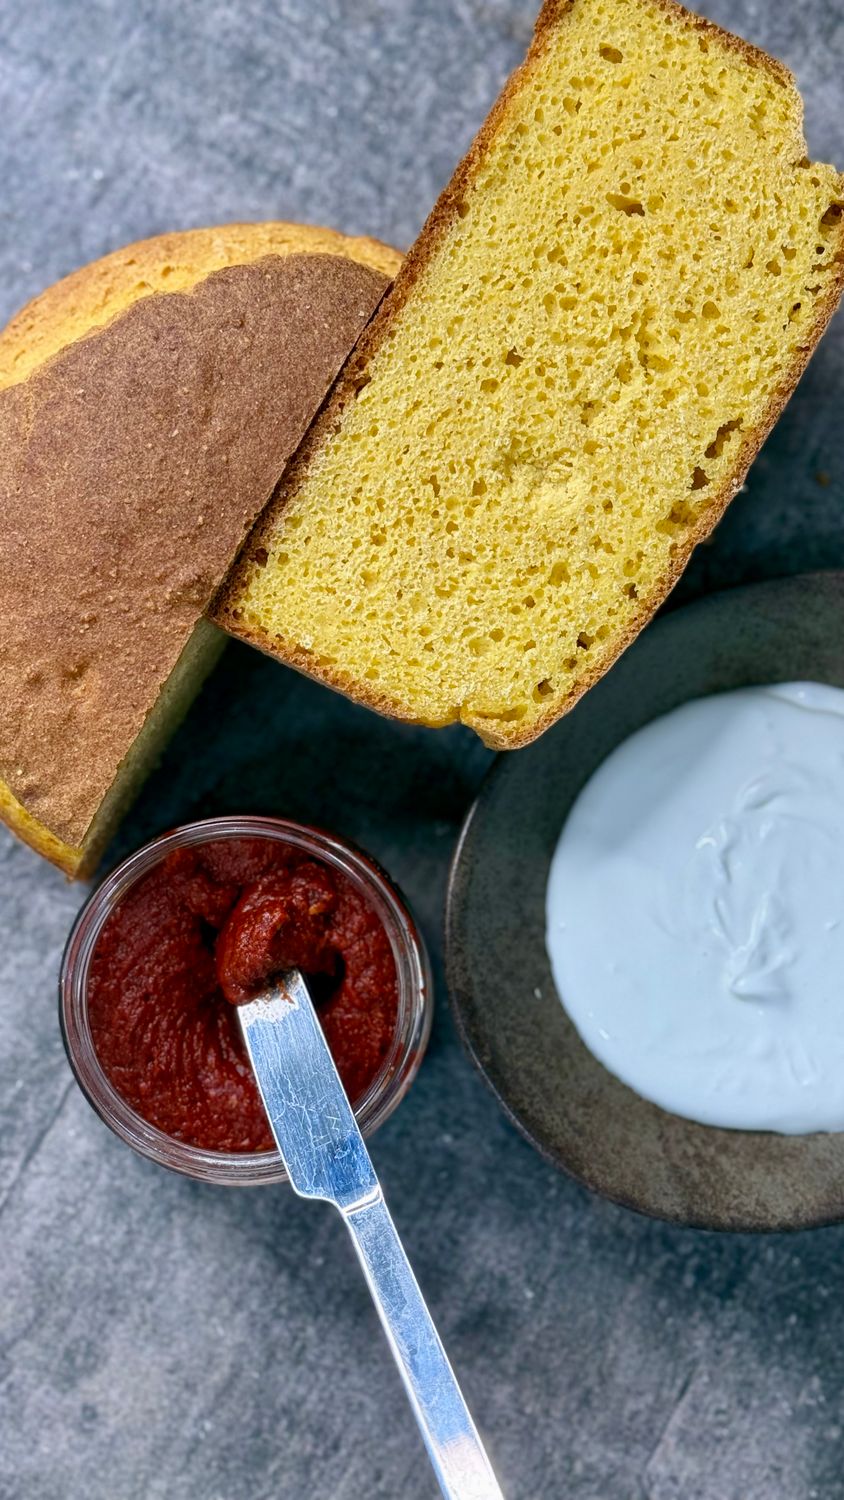
The key word is preheat.Lodge says the batter should start baking as soon as it hits the hot, greased skillet. “Hear that sizzle? You WANT some sizzle here,” the company writes in its cornbread guide. Don’t chase that sound by overheating the pan; it is a useful sign the hot-pan technique is working. Follow your recipe’s oven temperature and preparation instructions rather than turning up the heat just to make the skillet louder.
King Arthur’s recipe by Susan Reid offers an especially straightforward way to try it. The standard recipe bakes at 375°F, and its crispier-crust variation tells bakers to grease a cast-iron pan and heat it in the oven for 10 minutes. Then scoop the batter into the hot pan and return it to the oven. The recipe normally bakes for 20 to 25 minutes, but the hot-pan tip says to start checking after 15 minutes. That earlier check is part of the method, not an optional footnote.
Castle’s recipe follows different instructions: Put 1/4 cup bacon fat in a 9- to 10-inch cast-iron skillet and place it in the oven as it preheats to 450°F. After mixing the batter, pour it into the heated skillet and bake for about 25 minutes. These are two distinct recipes with different ingredients and temperatures, not interchangeable steps. Pick one complete formula instead of borrowing the hotter oven from one and the baking time from another.
The hot-pan moment also calls for care. Castle’s published instructions warn, “It will sizzle and pop, so be careful,” when the batter goes into the skillet. Use oven mitts when removing and returning the pan, and keep track of that heated handle while you work. The skillet does not become safe to grab just because it is sitting outside the oven. Lodge also notes that cast iron and the cornbread remain warm after baking, so keep that in mind when serving at the table.
Related: How Families Celebrated Thanksgiving in the 1950s
A Crunchy Crust Still Needs a Tender Center
A well-heated skillet handles only part of the job. To keep the inside tender instead of tough, the batter needs a lighter touch. Lodge advises mixing the ingredients until combined without trying to make the batter perfectly smooth. “It’s okay if the batter is a little lumpy!” its guide says. That is reassuring permission to put down the spoon: a few lumps are not a reason to keep stirring a batter that has already come together.
Reid’s recipe gives similarly clear instructions: stir quickly and gently, just enough to combine the wet and dry ingredients and moisten them evenly. Castle’s recipe says to stir only until blended. Neither asks you to beat the mixture into a glossy, uniform batter. This is a useful pairing of habits, heat the skillet thoroughly, but handle the batter gently. The crunchy exterior and tender interior come from paying attention to different parts of the process, not from one dramatic kitchen trick.
Use your recipe’s doneness cues alongside its suggested time. For Reid’s cornbread, the edges should begin pulling away from the pan, and a toothpick or thin knife inserted into the center should come out clean. Castle’s version should be firm in the middle and golden brown on top. Those checks help answer the question a browned surface alone cannot: whether the center has finished baking. An attractive crust is the goal, but it should not distract you from checking the bread underneath it.
Let It Set Before You Claim the First Wedge
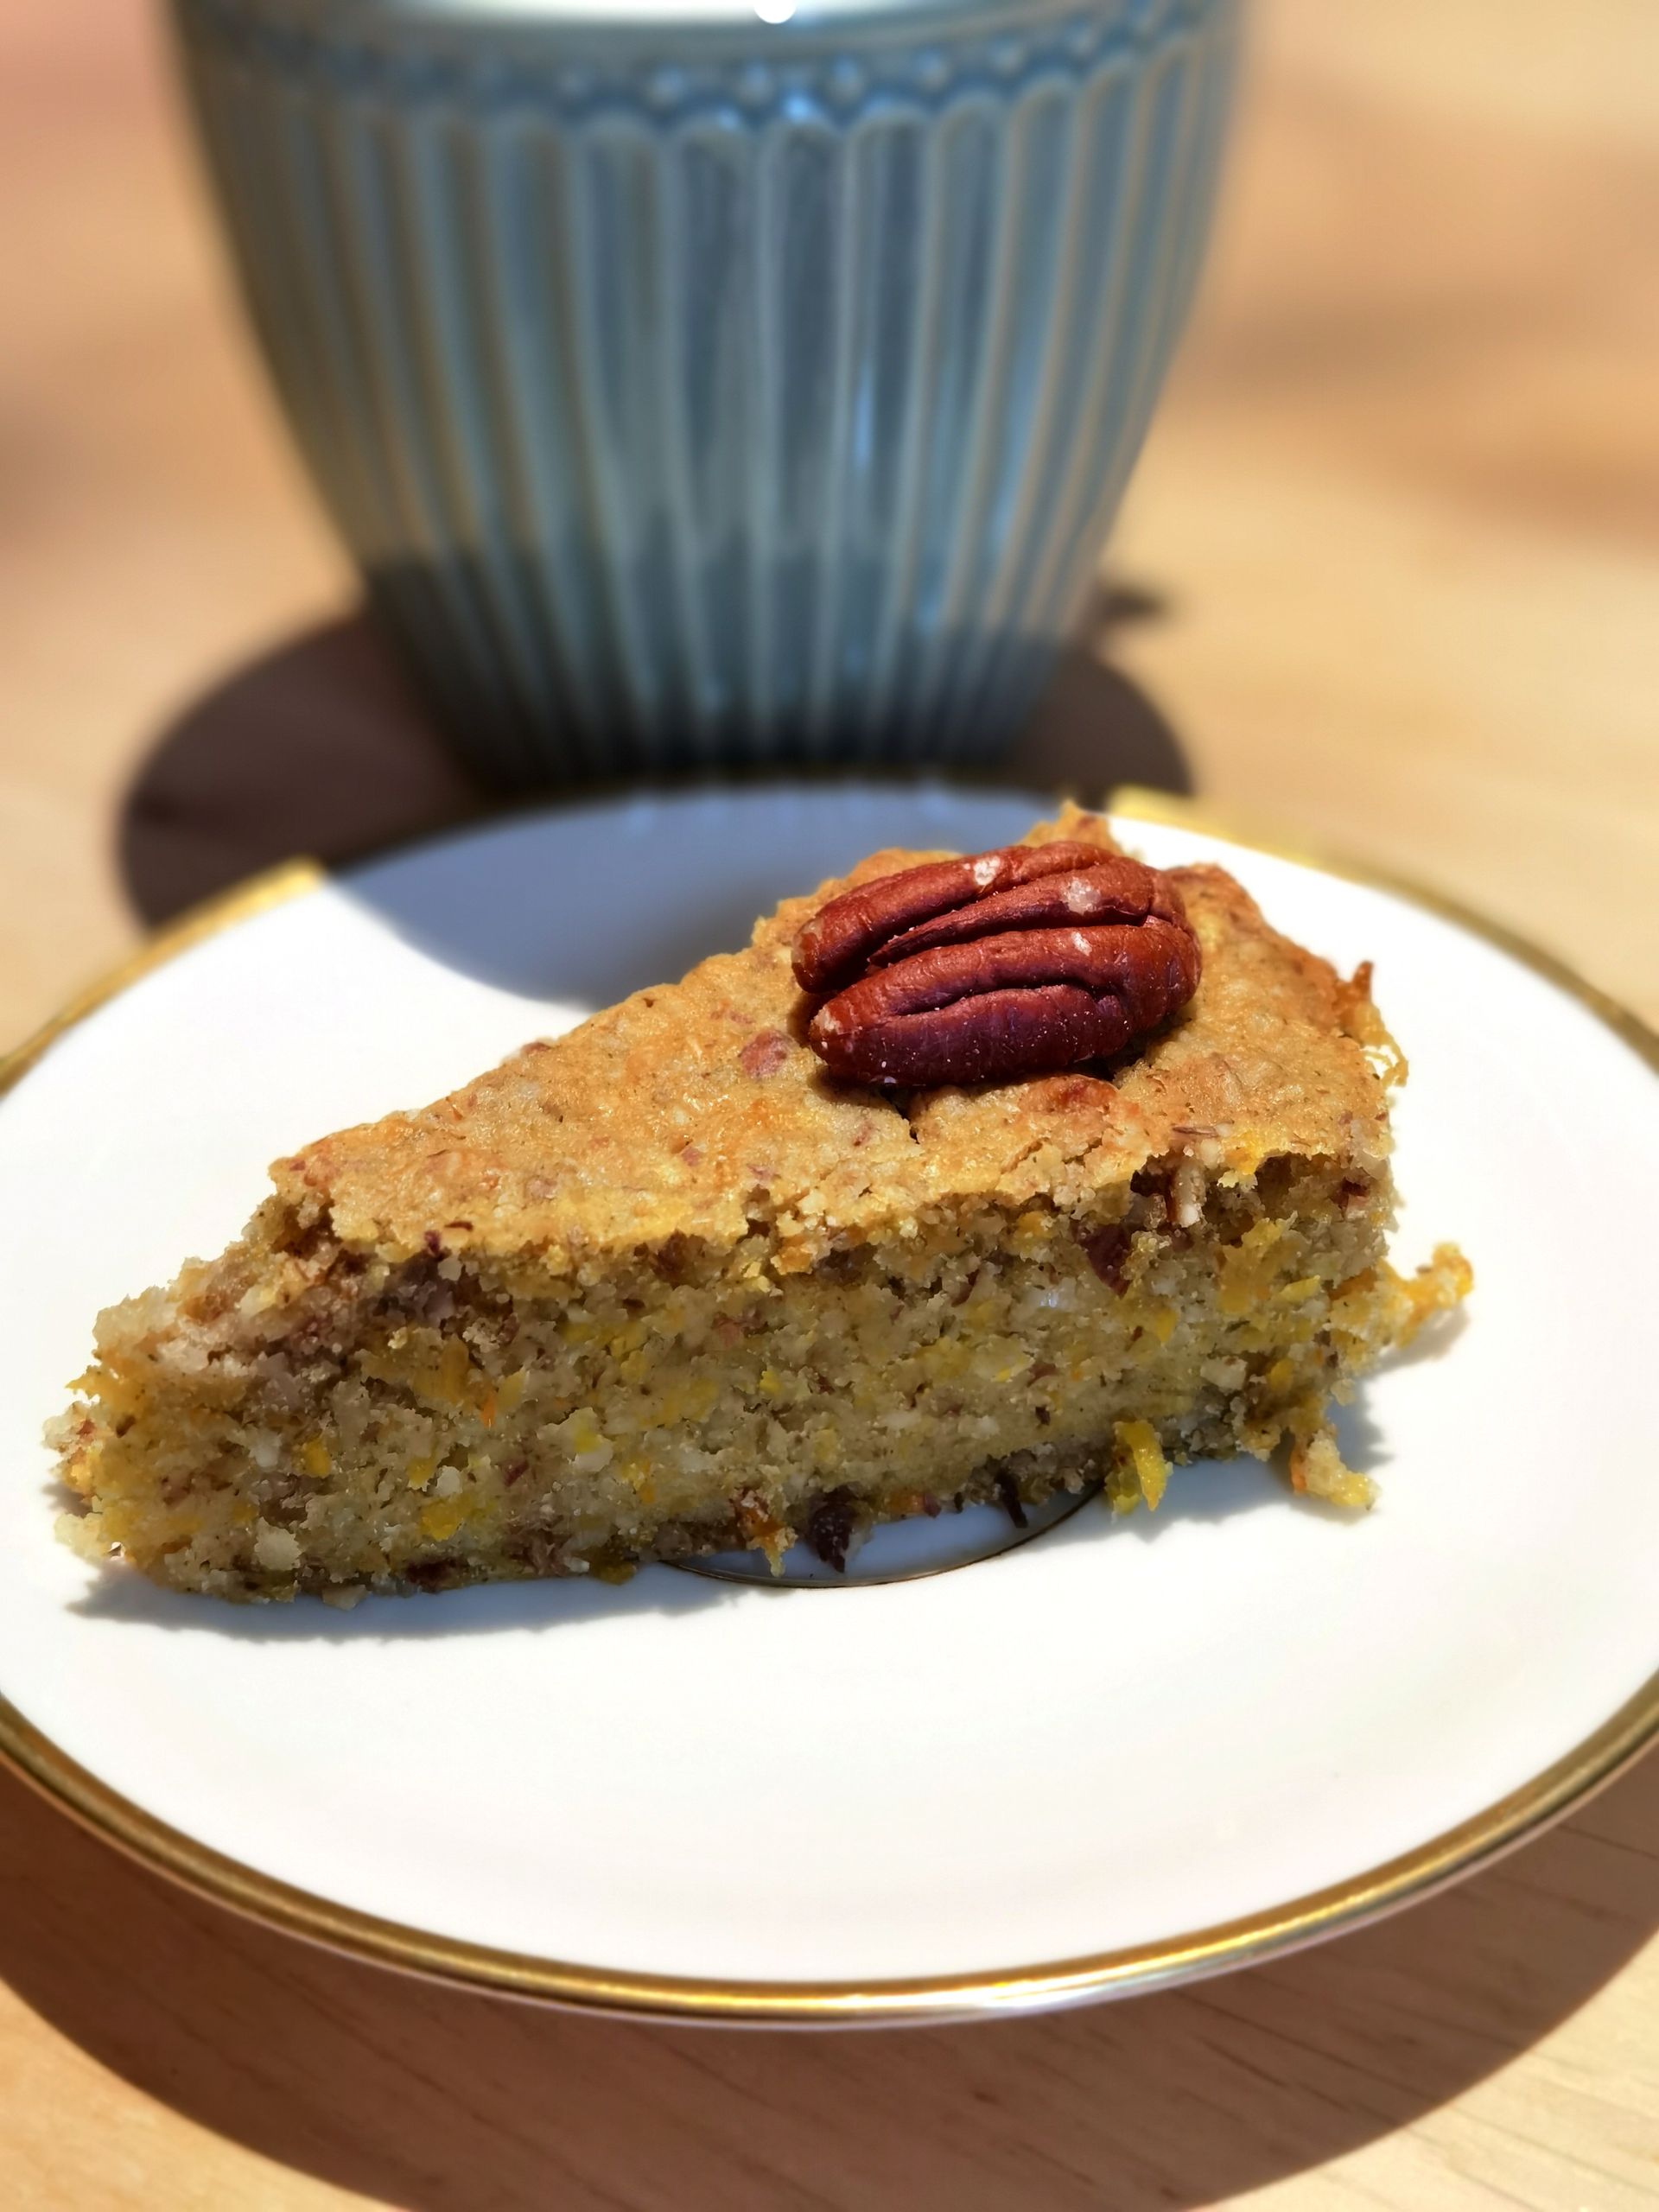
Once the cornbread comes out, let it rest briefly before slicing. Lodge recommends letting it cool in the skillet for about five minutes, then running a butter knife around the edge to help release it. Reid’s recipe also calls forcooling for five minutes before cutting and serving warm. That is not a request to let dinner go cold. It is a brief finishing step between pulling the pan from the oven and dividing the bread into portions.
What happens next depends on the recipe and how you want to serve it. Castle’s instructions call for turning the bread onto a cutting board or cooling rack and serving it piping hot. Lodge also suggests taking cornbread to the table in its skillet, with care around the hot cookware. Either way, the path to that golden, crunchy crust begins well before serving: grease the pan, preheat it as directed, and let the batter meet a skillet that is ready to work.