7 Cooking Mistakes That Can Ruin a Good Steak
A great steak does not always need complicated techniques, expensive equipment, or a long list of ingredients. Sometimes the difference between a disappointing dinner and a restaurant-worthy meal comes down to a few small choices made before and during cooking.
Even a high-quality cut can lose its appeal if the surface does not brown properly, the heat is poorly managed, or the steak is handled at the wrong time.
The good news is that most steak mistakes are easy to fix. Understanding what affects browning, doneness, and texture can help home cooks get better results without relying on old kitchen myths.
These are seven common habits that can make cooking steak harder than it needs to be.
Starting With a Merely Warm Pan
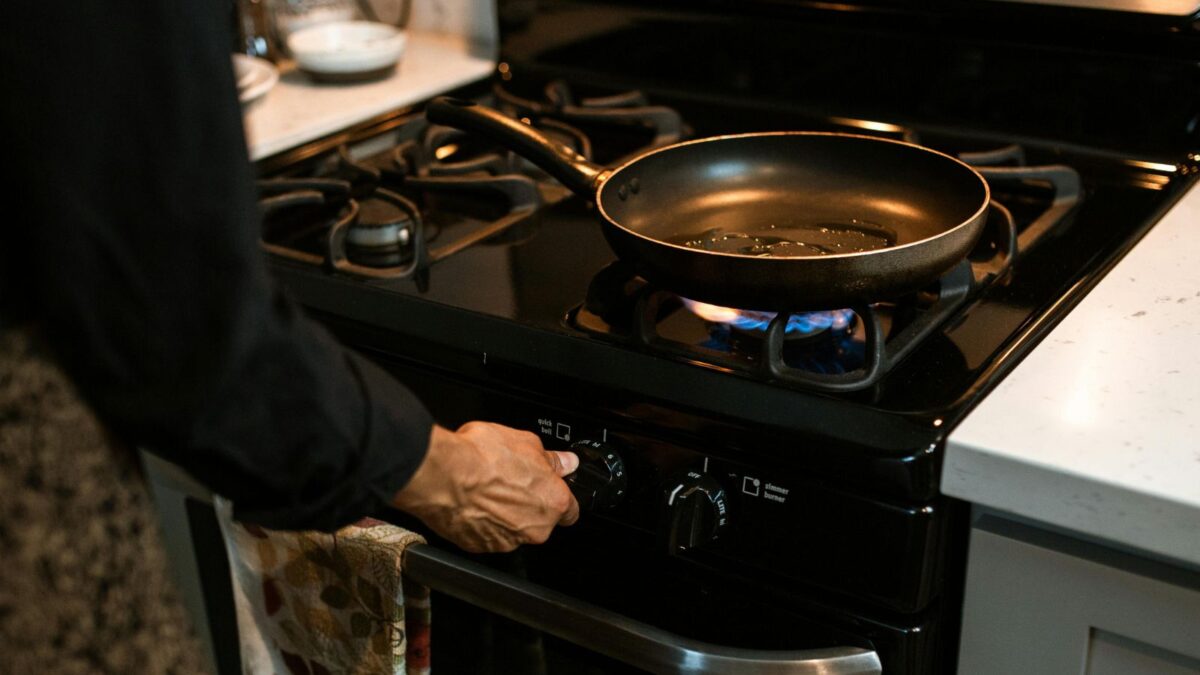
A pan that is only moderately warm can make it difficult for a steak to develop the deep browning many cooks are looking for. Browning works more effectively when the steak’s surface gets hot enough, but a cooler pan allows moisture to escape first, slowing down the process.
For a traditional pan-searing method, a properly preheated heavy skillet gives the steak a better chance to build color and texture. A neutral oil with a high smoke point can be heated before the steak goes into the pan. Serious Eats explains why a hot pan and dry surface are central to a strong steak sear.
That said, a cooler starting temperature is not automatically wrong. Some cooking methods intentionally use a cold-sear approach. The bigger issue is starting with a pan that is simply not ready for the type of sear you want.
Leaving the Steak Wet
A steak fresh from the package often has surface moisture, and that water can get in the way of browning. Before the steak develops a crust, some of the heat goes toward evaporating that moisture instead.
Patting the steak dry with paper towels before cooking gives the outside a better opportunity to brown instead of spending the first part of cooking steaming away excess water.
If salt has been added ahead of time and moisture appears on the surface, simply blot the steak dry again before placing it in the pan. The goal is not to remove every trace of moisture. It is to avoid having a wet exterior delay the browning process.
Fussing With the Steak Before It Has Started to Sear
Many cooks hear that steak should never be moved once it hits the pan. That advice is too simple. The real problem is constantly dragging, lifting, and repositioning the steak before the first layer of browning has had time to form.
When the steak is placed in the pan, it should have enough uninterrupted contact with the cooking surface to begin developing color. Moving it every few seconds can make that harder.
However, this does not mean a steak should only be flipped once. Controlled flipping can be part of an effective cooking method. America’s Test Kitchen found that regularly flipping steak can help create a crisp crust and a more evenly cooked interior, especially with thicker cuts.
Getting the Heat Wrong
Steak needs enough heat to brown properly, but more heat is not always better. Too little heat can leave the outside pale before the inside reaches the desired level of doneness. Too much heat can burn cooking fats or create unpleasant flavors before a thicker steak finishes cooking.
A better approach is managing the heat throughout the process. A heavy skillet with strong initial heat can help establish browning, while adjusting the temperature can help finish the steak more gently.
The thickness of the steak matters too. A thin steak and a thick steak do not always respond well to the same cooking method. Thicker cuts often require more control so the outside does not overcook before the center is ready.
Cutting Into the Steak to Check If It’s Done
Slicing into a steak while it cooks may seem like a quick way to check progress, but it only provides a limited look at what is happening inside. It can also release some liquid from the area that has been cut.
Color, firmness, and cooking time alone are not reliable ways to judge doneness every time. Steaks vary in thickness, starting temperature, and cooking conditions.
An instant-read digital thermometer is a more dependable tool. The best place to check is near the thickest part of the steak, while avoiding bones, fat, or gristle that could affect the reading. USDA guidance likewise recommends checking meat with a food thermometer rather than relying on color, firmness, or cooking time.
Skipping the Rest
Taking a steak off the heat does not always mean the cooking process has completely stopped. Carryover cooking can continue after removal, and allowing the steak a short rest gives the temperature a chance to settle before slicing.
Resting is often explained with the phrase that juices “redistribute,” but the reality is more complicated than that simple saying suggests. The practical reason to wait is that slicing immediately at the hottest point of cooking can lead to more liquid running out.
The right resting time can depend on the steak’s thickness and the cooking method. Instead of following one fixed rule for every steak, focus on giving it a brief pause before serving.
Slicing With the Grain
The direction you slice a steak can affect how it feels when you eat it. The grain refers to the direction of the long muscle fibers running through the meat.
When steak is sliced parallel to those fibers, the pieces contain longer strands that can feel chewier. Cutting across the grain shortens those fibers, making the texture easier to bite through.
Before slicing, take a moment to look at the steak and identify the direction of the fibers. This step matters most with cuts that have a noticeable grain, including flank steak, skirt steak, hanger steak, and tri-tip.
A delicious steak does not require a complicated routine. The biggest improvements often come from simple habits: drying the surface, using an appropriately heated pan, controlling the heat, avoiding unnecessary handling, checking doneness with a thermometer, allowing a short rest, and slicing with care.