Stop Boiling Your Corn on the Cob: There’s a Better Way
For generations, cooking corn on the cob meant one thing. You filled the biggest pot in the kitchen with water, waited forever for it to boil, dropped in the ears and hoped you pulled them out at the right moment. Grandma did it that way, Mom did it that way and most of us never questioned it.
But many home cooks and food writers have quietly moved on. Boiling works, but it heats up the whole kitchen, takes a long time and can leave corn waterlogged if you forget about it for a few minutes. Some cooks feel the sweet, fresh flavor gets lost in all that water. Once they tried other methods, they never went back.
The good news is that the alternatives are easier than you might think. Some take just a few minutes, and one even makes shucking the corn practically effortless. Here’s why so many cooks have stopped boiling their corn on the cob, and the better ways to cook it instead.
The Trouble With Boiling
Boiling corn isn’t wrong, but it has a few downsides. Bringing a giant pot of water to a boil can take 15 or 20 minutes before you even start cooking. On a hot summer day, that steamy kitchen is the last thing anyone wants.
It’s also easy to overcook corn in boiling water, especially when you’re juggling burgers on the grill and potato salad on the counter. Overcooked corn turns soft and mushy instead of crisp and juicy. And many cooks find that boiled corn tastes a little watered down compared with corn cooked by other methods.
The Microwave Method
The easiest alternative might surprise you: the microwave. You put a whole ear of corn, husk and all, straight into the microwave and cook it. The husk traps steam, so the corn cooks in its own moisture and stays sweet and juicy.
Most guides suggest about three to four minutes on high for one ear, adding a few minutes for each additional ear, though timing depends on your microwave. The best part comes next. Tasting Table explains that if you cut off the stem end and squeeze the corn from the top, the ear slides right out of the husk with almost no silk left behind.
It’s quick, there’s no pot to wash and the kitchen stays cool. Use an oven mitt, because the corn will be very hot when it comes out. For a family dinner, you can microwave a few ears at a time while the rest of the meal comes together.
Roasting in the Oven
If you want deeper, richer flavor, try roasting corn in the oven. You can roast it right in the husk, or shuck it, brush it with butter, season it and wrap each ear in foil. Bake at around 400 to 425 degrees for about 25 to 30 minutes.
Roasting brings out the corn’s natural sweetness and gives it a slightly toasty flavor that boiling can’t match. It’s also hands-off, so you can put the corn in the oven and focus on the rest of the meal. On cooler days or during the holidays, roasted corn makes a cozy side dish.
Grilling in the Husk
For summer cookouts, grilling corn is hard to beat. Many cooks soak the ears in water for about 15 minutes, then put them on the grill in their husks. The husks protect the corn while it steams inside, and the outside gets a little smoky.
After about 15 to 20 minutes, turning a few times, the corn is tender. Some people peel back the husks for the last few minutes so the kernels get a light char. As Food52 points out, there are plenty of ways to cook corn, and grilling is a favorite for flavor. You can also grill shucked corn directly over the flames for more char.
Steaming on the Stove
If you prefer the stovetop, steaming is a smart middle ground. You only need an inch or two of water in the bottom of a pot and a steamer basket or rack. Because there’s so much less water, it comes to a boil quickly.
Steamed corn cooks in about six to eight minutes and keeps more of its crisp texture and sweet flavor than boiled corn. In side-by-side kitchen tests, many cooks have ranked steaming above boiling. It’s a simple switch that doesn’t require any special equipment.
Picking the Best Corn
No matter how you cook it, the corn itself matters most. Look for ears with bright green husks that feel slightly damp and tightly wrapped. The silk sticking out of the top should be light brown and a little sticky, not dry and black.
Gently feel the kernels through the husk to make sure they’re plump and fill the ear to the tip. Try to cook corn the same day you buy it, since its sweetness begins to fade after it’s picked. Many old-timers swear by buying corn from a farm stand in the morning and eating it for dinner that night.
Dressing It Up
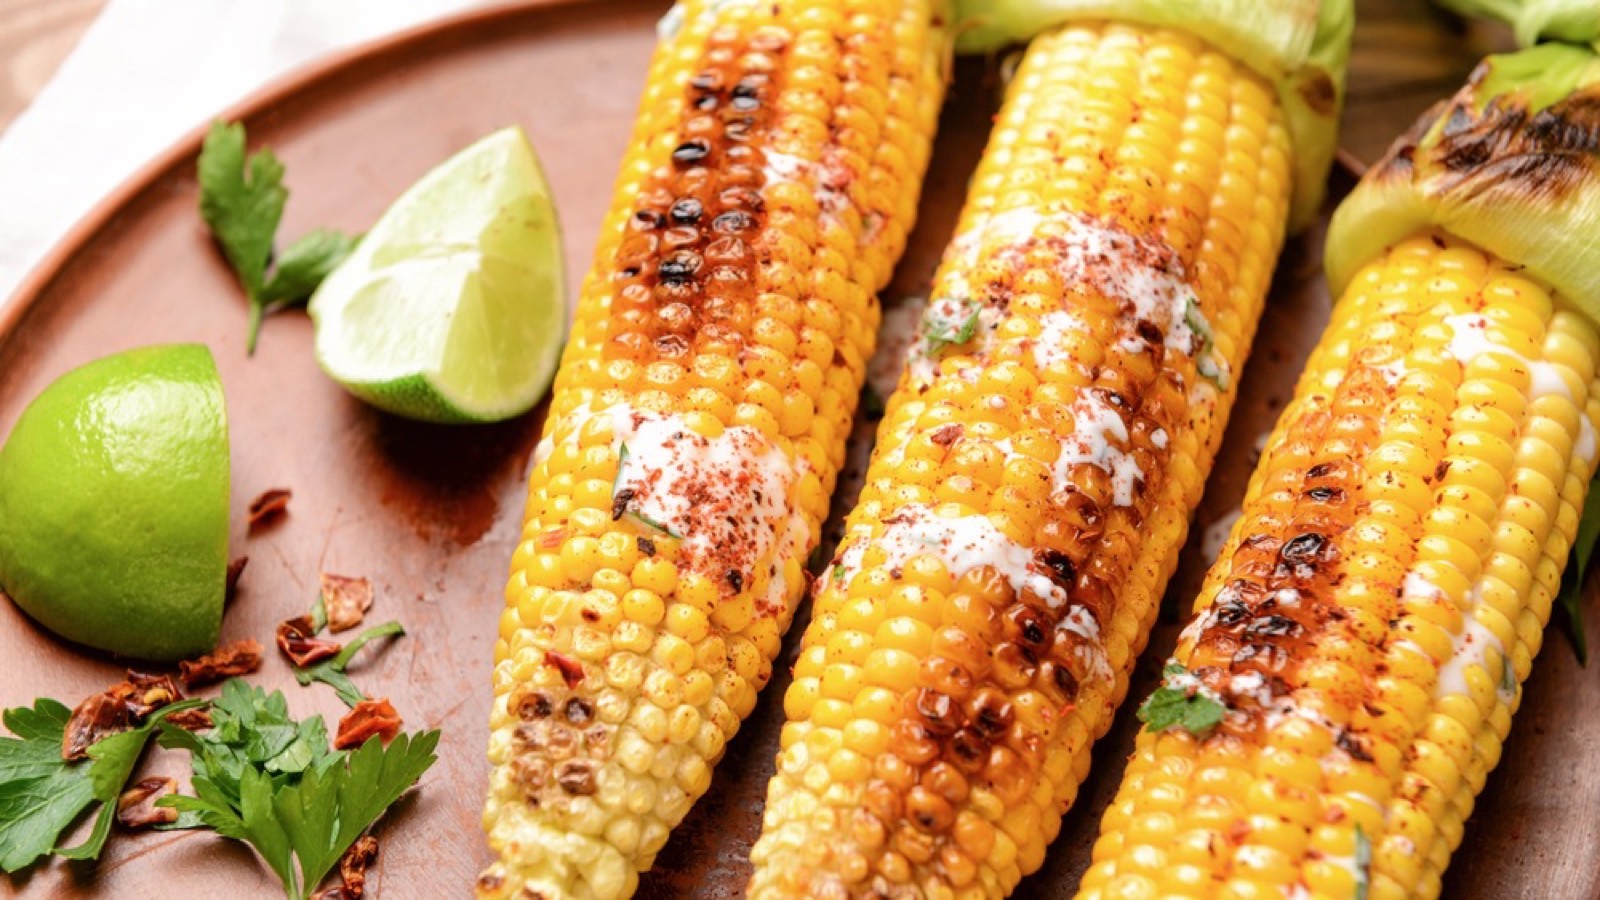
Once your corn is cooked, the classic topping is still a pat of butter and a sprinkle of salt. But there are lots of other ways to dress it up. Mexican street corn, called elote, is slathered with mayonnaise, sprinkled with cotija cheese and chili powder and finished with a squeeze of lime.
You can also try garlic butter, Parmesan and herbs, honey butter or a dusting of smoked paprika. Leftover corn can be cut off the cob and tossed into salads, salsas, soups and casseroles. It’s one of those summer foods that’s easy to stretch into several meals.
A Simple Change
Boiling corn on the cob is a tradition, and there’s nothing wrong with sticking to what you know. But if you try microwaving, roasting, grilling or steaming, you might find you like the results better and save yourself a hot kitchen in the process. It’s one of those kitchen tips every home cook should know.
Many families have their own favorite way, often passed down from parents or grandparents. Cooks have been swapping cheap hacks like these for years. How do you cook your corn on the cob? Have you tried the microwave trick yet?