6 Pie Crust Designs That Look Harder Than They Are
A beautiful pie can steal the spotlight before anyone takes the first bite. And Americans have a soft spot for this classic dessert, especially during the holidays. According to American Pie Council survey data, pie was the top choice with 29% of respondents preferring that a friend or family member bring it to a holiday dinner, Those numbers give home bakers another reason to dress up their favorite pies.
Fortunately, impressive pastry designs rarely demand professional training. These approachable techniques can help you create a dessert that looks like you spent hours decorating it.
A braided top
Want a crust that resembles something from a fancy bakery window? Try braiding it. King Arthur: Gather three strips and pinch their ends together. Next, bring each outside strand toward the center, alternating sides as you work down the dough. Secure the bottom with another gentle pinch. Repeat until you have enough braids to decorate your pie.
You can position them close together for a fuller look or leave wider spaces to reveal the filling. For additional sparkle, brush the braids with egg wash and add sparkling sugar before baking. You get a sophisticated finish from a familiar three-strand technique.
The classic lattice top
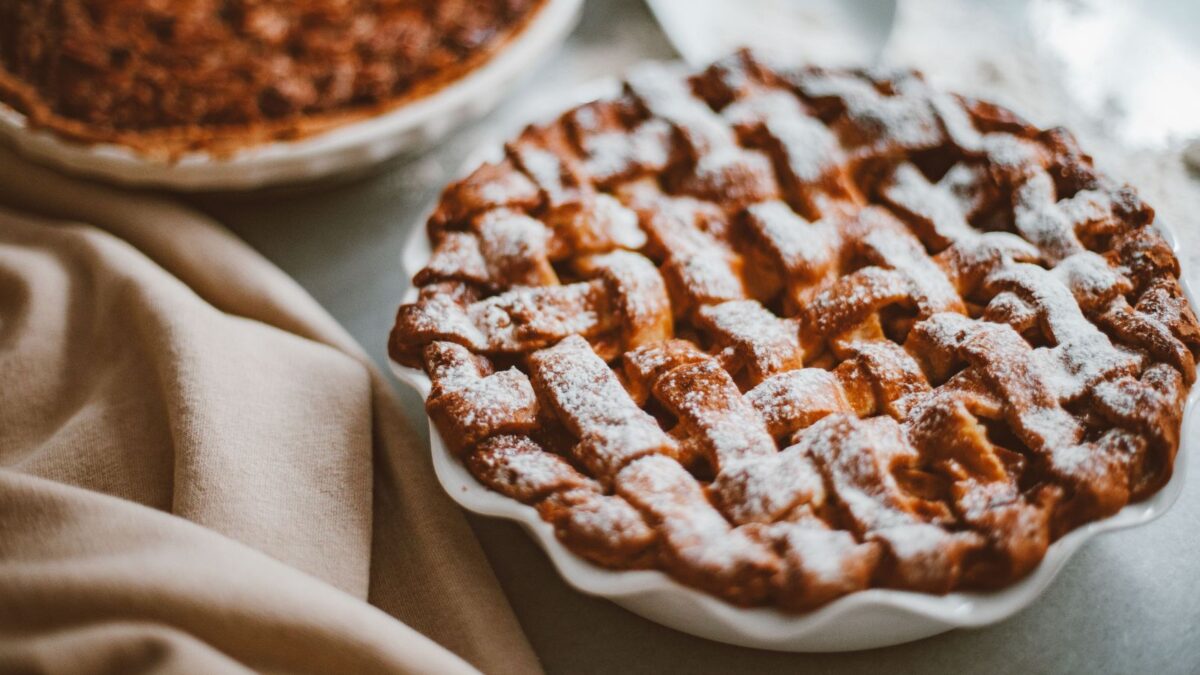
A lattice crust brings instant charm to fruit pies, and the secret lies in a simple weaving pattern. According to King Arthur Baking’s lattice guide, strips measuring ½ to 1 inch wide work well for a traditional design. Start by rolling out cold dough and cutting it into evenly sized ribbons. Arrange half the strips across your filled pie, leaving small gaps between them.
Fold back alternating strips and lay another piece across the exposed filling. Return the folded strips to their original positions, then repeat the process with the opposite set. Continue until the pastry creates a tidy woven pattern. Trim away excess dough and crimp the edges for a polished finish.
A leaf-cutout border
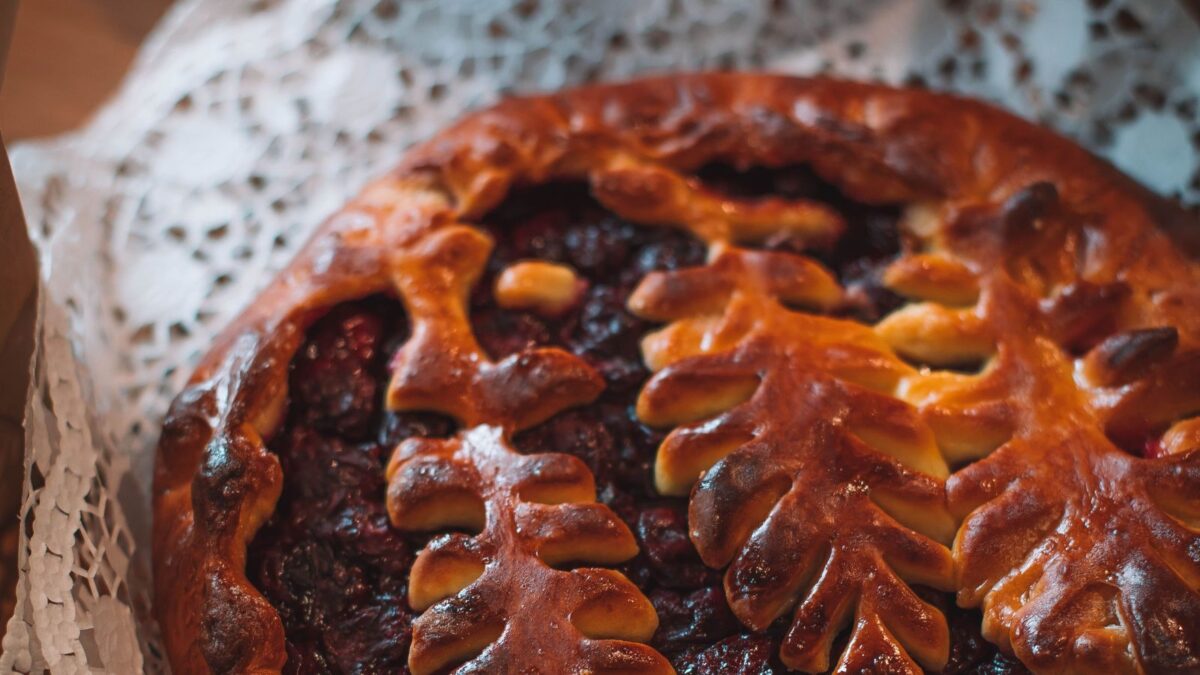
Nothing captures the cozy feeling of fall quite like delicate pastry leaves circling a homemade pie. Best of all, you can create this design without covering the entire dessert. Press the cutters into the pastry, then arrange your shapes along the rim. For extra character, use a toothpick or small knife to trace delicate veins onto each leaf.
Don’t own specialty cutters? Draw a leaf on sturdy paper or cardboard, then use that outline as a guide while cutting the dough. Chill a fully decorated pie for 30 minutes before baking to encourage a flaky crust. You can create a simple ring of autumn leaves or extend the pattern across the top. Either approach delivers seasonal charm without complicated pastry equipment.
A scalloped rim
Sometimes the smallest details make the biggest impression. A scalloped rim gives an ordinary pie a graceful, wavy border using nothing more than your fingers. Pillsbury Kitchens’ apple pie guide, shows begin by creating a raised dough rim about ½ inch above the pie plate’s edge. Position your thumb and index finger roughly an inch apart along the outside. Use your other index finger to push the dough outward between them.
Continue around the plate, repeating the movement to form matching curves. Take your time and rotate the dish as you work. The technique creates an elegant frame without extra pastry pieces or decorating tools. Pillsbury also recommends covering pie edges with foil during baking when they begin browning too quickly. That small finishing step helps preserve the appearance of your carefully shaped border.
Relatable: 10 Irresistible Desserts You Need to Try for Your Sweet Cravings
A rope-style edge
A rope-style border looks like someone twisted pastry into a delicate cord. Surprisingly, you can achieve the effect without rolling a separate strand of dough. Place the side of your thumb against the pastry at a slight angle. Press your index-finger knuckle into the dough toward your thumb to create the first impression.
Move along the rim and repeat the angled pinch. Each new impression builds on the previous one, creating a continuous rope-like pattern. Keep your movements steady, and rotate the pie plate as needed. This method works especially well when you want an eye-catching finish without covering your filling.
A crimp-and-fork border
Here’s a clever way to make an ordinary pie edge look more elaborate. Combine familiar finger crimps with the textured impressions of a dinner fork. Begin by shaping a traditional fluted border, leaving small, flatter sections between the raised curves. Lightly flour your fork, then press its tines into those flatter areas to create contrasting ridges. Work around the pie, taking care not to press through the pastry.
Culinary expert Justin Chapple highlights five approachable ways to crimp and flute pastry, including traditional finger fluting and simple fork impressions. The combined crimp-and-fork approach builds on those familiar methods. It creates extra visual interest without special equipment or advanced skills. The secret lies in alternating the rounded finger shapes with the fork’s straight lines.