Skip the Fryer: This High-Heat Brussels Sprouts Trick Delivers Restaurant-Level Crunch
Restaurant-style Brussels sprouts don’t require a deep fryer, a reservation, or a complicated glaze. The big move is simple: halve fresh sprouts, give them room on a hot sheet pan, and roast them cut-side down at high heat until the flat sides turn deeply browned and the loose leaves crisp up. That combination creates the tender-center, crackly-edge contrast that makes people reach across the table for “just one more.”
The Real Secret Is Heat
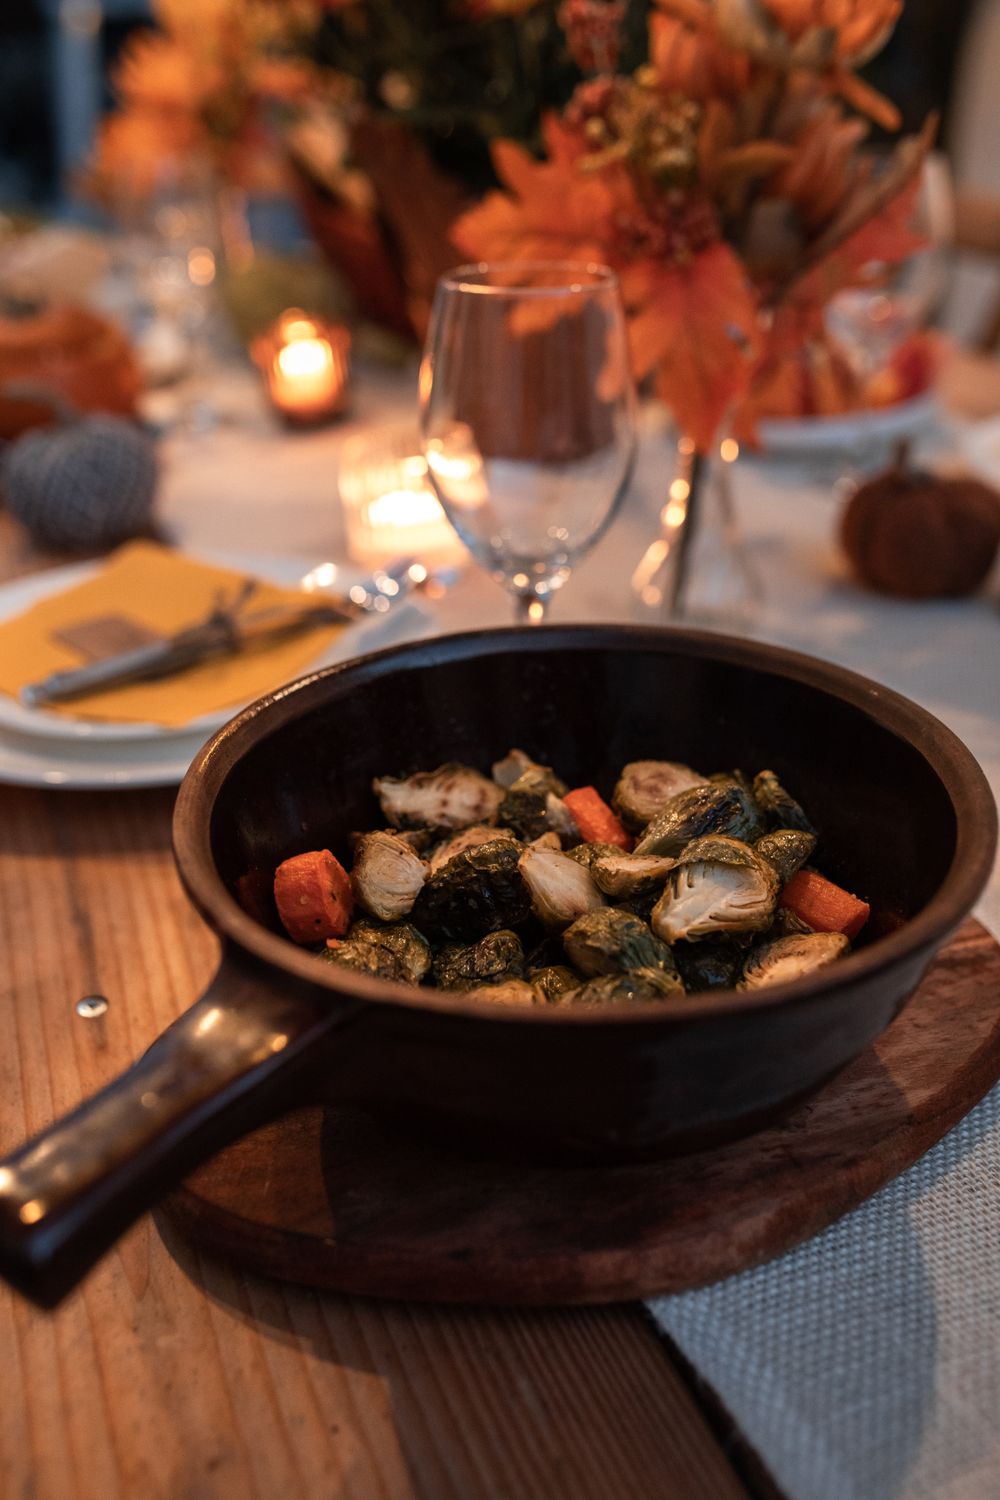
The goal is not merely to cook Brussels sprouts until they are soft. It is to get them hot enough, fast enough, for their natural sugars to caramelize and their surfaces to brown before the vegetable develops the strong, cabbage-like flavor associated with slow cooking. Serious Eats’ Daniel Gritzer calls for an oven at 500°F and a preheated rimmed baking sheet, explaining that very high heat produces sweet flavor and a “nutty char.”
High heat changes the vegetable’s whole personality. The outside darkens and becomes crisp, the interior turns tender, and loose outer leaves become the snackable pieces people tend to pick off first. Gritzer writes that the approach should be “full-on, frontal-assault, no-prisoners-taken” heat, not a gentle roast that leaves the sprouts pale and steamy. That is why a crowded, low-temperature sheet pan rarely produces the restaurant effect people are after.
If 500°F feels too aggressive for your oven or cookware, 425°F to 475°F can still create a satisfyingly browned result. America’s Test Kitchen uses a 475°F oven in one roasted Brussels sprouts recipe, while recipe developer Jason Goldstein of Kitchen Swagger uses 425°F with a preheated heavy-duty baking sheet. The common thread is not one magic number. It is giving the sprouts enough heat to brown decisively instead of letting them slowly release moisture.
Preheating the sheet pan is a helpful extra step because it gives the cut sides an immediate sizzle when they hit the surface. Serious Eats calls that contact crucial to getting the vegetables as hot as possible, as quickly as possible. Carefully remove the hot pan with oven mitts, arrange the oiled sprouts cut-side down, then return the tray to the oven. That early contact helps build the browned crust that makes roasted sprouts feel less like a dutiful side dish and more like something you would order at a bar.
Cut, Dry and Give Them Space
Start with fresh Brussels sprouts that are firm and bright green, ideally in similar sizes so they cook at roughly the same pace. Trim only a small amount from the stem end, then halve each sprout lengthwise through the core. America’s Test Kitchen advises looking for small, tight heads, about 1 to 1½ inches in diameter, because they are more likely to be sweet and tender. A few leaves will fall away while you cut them; keep them, because those loose leaves can become especially crisp.
After washing, dry the sprouts thoroughly before oiling them. Water on the surface turns to steam in the oven, and steam works against browning. Toss the dry halves with enough olive oil or another cooking oil to coat them lightly and evenly, then season with salt and pepper. Oil isn’t there to drown the vegetables; it helps transfer heat, promotes browning,, and keeps the flat sides from sticking to the pan.
Now comes the part that determines whether you get crunchy edges or a tray of soft, gray-green disappointment: spread the sprouts out. Place every half cut-side down in a single layer, leaving space between pieces and avoiding overlap. Sonja Overhiser of A Couple Cooks explains that spacing allows air to circulate; when sprouts are stacked, “they’ll steam instead.” If you are cooking more than your pan can comfortably hold, use a second sheet rather than hoping one crowded pan will somehow roast.
Resist the instinct to keep stirring. Leaving the cut side in contact with the pan gives it time to brown deeply and develop a firm, caramelized surface. America’s Test Kitchen’s sheet-pan method also specifies arranging the sprouts with the cut sides facing down. Serious Eats notes that tossing can produce more even browning, but leaving the sprouts on one side creates more contrast between crispy, browned areas and tender ones.
Roast until the cut sides are dark golden-brown and the centers yield to a fork or paring knife. Cooking time depends on sprout size, oven temperature, and your pan’s heat retention, so color and tenderness are more reliable markers than a stopwatch. In America’s Test Kitchen’s 475°F recipe, the sprouts roast for about 15 to 17 minutes after you add them to the pan. At 425°F, Kitchen Swagger estimates about 25 to 30 minutes.
Related; 10 Vegetables With More Fiber Than Brussels Sprouts
Finish As a Restaurant Would
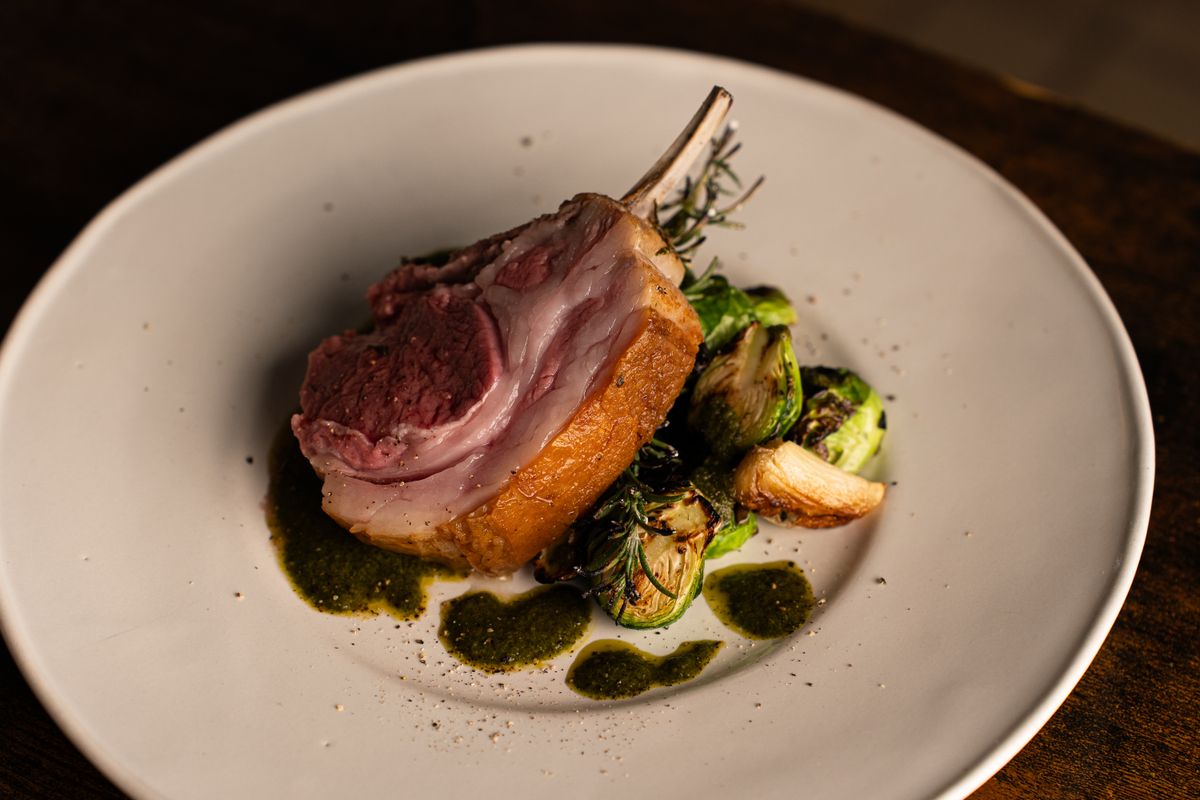
The sprouts should taste good straight off the pan, but a quick finish is what gives them that menu-worthy polish. For a bright, simple version, add a squeeze of lemon juice and a shower of grated Parmesan after roasting. The lemon cuts through the sprouts’ earthy richness, while the cheese adds salty, nutty flavor. Allrecipes recommends finishing browned sprouts with lemon juice and high-quality Parmesan, an uncomplicated pairing that lets the charred edges stay in the spotlight.
For a sweet-tart route, add balsamic vinegar after the sprouts come out of the oven. Gritzer recommends sprinkling the vinegar over hot sprouts, where the residual heat reduces it almost instantly into a thin glaze. Honey can add another layer of sweetness, but do not pour on so much that it pools on the plate and softens the crisp exterior you just worked to create. Toss lightly, taste, and serve immediately.
A skillet method offers a strong alternative when you do not want to turn on the oven. America’s Test Kitchen arranges halved sprouts cut-side down in a single layer in a cold nonstick skillet, drizzles them with oil, covers the pan, and sets it over medium-high heat. The covered stage gently cooks the centers, and the uncovered finish lets the cut sides develop an evenly browned crust. In its maple-and-smoked-almond version, the process takes about 20 minutes for four servings.
This stovetop technique isn’t deep-frying, and it illustrates the main idea behind great Brussels sprouts: manage moisture, make contact with a hot surface,, and let browning happen. America’s Test Kitchen says the covered skillet creates a “steamy environment” that cooks the interiors, while the uncovered phase gives the sprouts time to caramelize. The result is crisp-tender rather than battered or greasy, with the rich color and texture that makes Brussels sprouts feel restaurant-ready.
If you are serving a crowd, do not roast them too far ahead. Crispness is strongest right out of the oven, and add sauces at the last minute. Kitchen Swagger notes that reheated sprouts tend to lose their crunch and recommends rewarming them in the oven rather than the microwave if needed. Make the sprouts the last hot component to land on the table, add your lemon, cheese, or glaze, and serve them while the leaves still crackle.
The takeaway is pleasantly simple: restaurant-style Brussels sprouts aren’t about deep-frying at home. They are about treating the vegetable like it deserves a little heat and attention. Halve them, dry them, oil them, keep them from crowding one another, and let the cut sides stay put against a seriously hot pan. The payoff is crisp leaves, caramelized edges, and a side dish with enough personality to steal attention from the main course.