8 Mistakes People Make When Cooking Chicken at Home
Chicken is one of those foods that looks simple until the final result lands on the plate. A recipe can seem straightforward, yet small choices during preparation can leave chicken with pale browning, uneven cooking, or less flavor than expected.
The difference often comes down to a few everyday cooking habits that are easy to overlook. From handling moisture to checking doneness correctly, a few adjustments can help home cooks get better results without making the process complicated.
Not Patting Chicken Dry
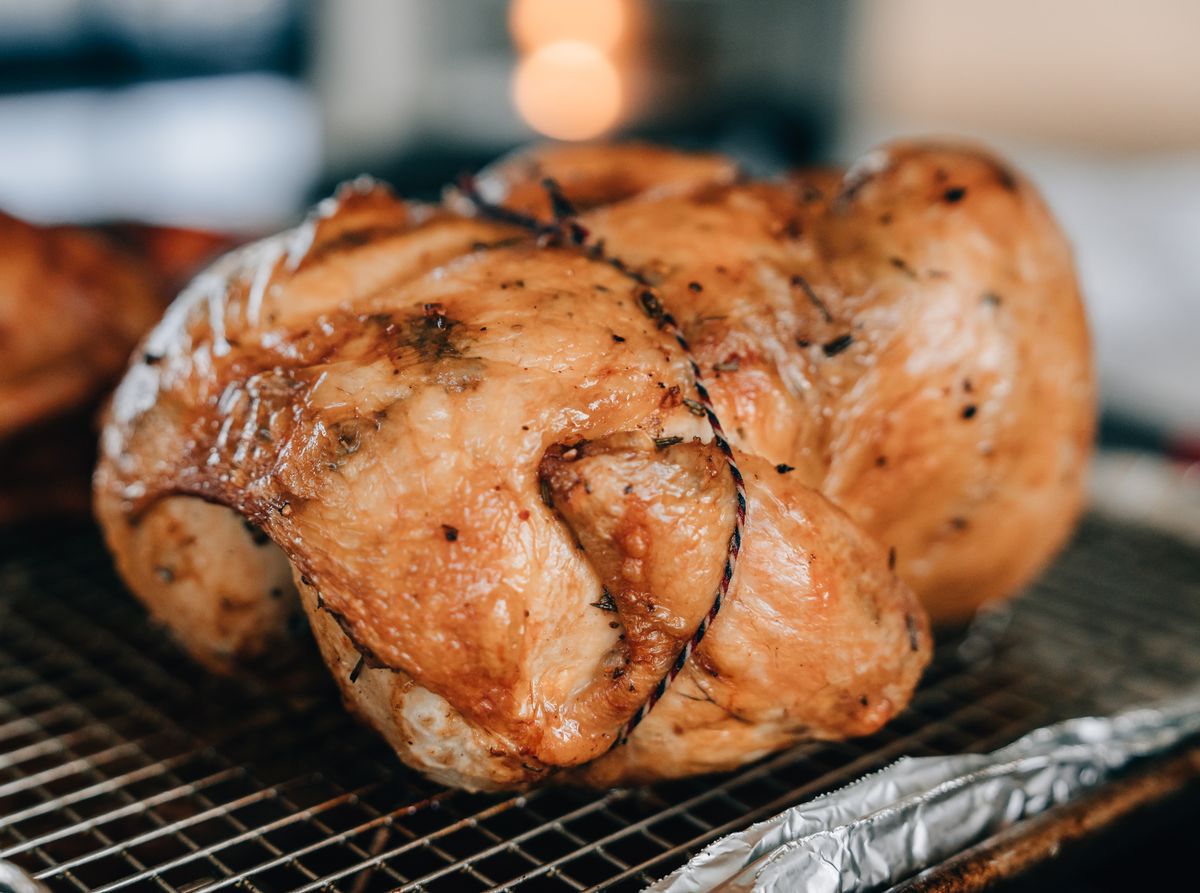
A common mistake is placing chicken into a hot pan while the surface is still carrying extra moisture. When the outside of the chicken is wet, some of the heat is used to evaporate that moisture before stronger browning can happen. The result can be a surface that looks lighter and less evenly browned.
The fix is simple: pat chicken dry with paper towels before cooking when browning is the goal. This step can be especially helpful for chicken that has been packaged, thawed, brined, or sitting in a marinade.
If there is excess wet marinade, remove the extra before the chicken goes into the pan. For chicken skin that needs to crisp, drying the skin well can make a noticeable difference. America’s Test Kitchen notes that a dry surface browns more readily, while surface moisture can steam and soften the exterior.
Treating Every Piece of Chicken the Same
Not all chicken cooks the same way. A thin boneless cut, a bone-in piece, a wing, a drumstick, a thigh, a whole chicken, and small cubes of chicken all have different shapes, sizes, and cooking characteristics. Expecting every piece to finish at the same time can lead to uneven results.
Instead of relying on one general cooking approach, choose a method that matches the specific cut being prepared. Cooking time should be treated as an estimate because the final result depends on the size, shape, and preparation of the chicken.
Using an instant-read thermometer is the most reliable way to check whether chicken has reached the USDA recommended internal temperature of 165°F (73.9°C).
For perspective, federal poultry roasting charts list different approximate cook times for whole chickens, bone-in breast halves, and boneless breast halves, underscoring why one timing rule does not work for every cut.
Crowding the Pan
Adding too much chicken to a pan at once can make browning more difficult. When pieces are packed closely together, there is less exposed cooking surface, and moisture released from the chicken can collect instead of evaporating quickly. This can encourage steaming rather than the deeper browning many cooks are looking for.
The solution is to give chicken enough space when browning is the goal. Arrange pieces in a single layer and avoid overcrowding the cooking surface. If the pan cannot comfortably hold the amount of chicken being prepared, cooking in batches can help each piece get better contact with the hot surface. America’s Test Kitchen similarly advises that a crowded skillet can cause chicken to steam rather than brown.
Moving Chicken Too Soon
Chicken needs steady contact with a hot cooking surface to develop good color. A common mistake is constantly shifting or flipping chicken before it has had enough time to brown. Moving it too early can also make it more likely to stick before the surface has properly developed.
For a skillet sear, allow the first side to cook long enough to develop the desired browning before turning. Once the chicken releases more easily and has the color you want, use tongs or a spatula to flip it. This does not mean chicken should only ever be flipped once. Some cooking methods, such as stir-fries or smaller pieces, require more movement.
Judging Doneness by Color
Many home cooks rely on appearance to decide whether chicken is finished, but color alone is not a dependable way to judge doneness. A browned exterior does not show what is happening in the center of the meat. Cutting into chicken repeatedly can also make it harder to keep the piece intact.
The better approach is using an instant-read food thermometer. Chicken should reach 165°F (73.9°C), measured in the thickest part of the piece while avoiding bone, fat, or cartilage when checking.
For whole birds, temperature should be checked in appropriate thick areas, including the breast and inner areas of the thigh or wing as appropriate. USDA guidance says all poultry should reach 165°F as measured with a food thermometer.
Cutting Into Chicken Immediately
Slicing into chicken the moment it comes off the heat can cause more liquid to run onto the cutting board, especially with thicker pieces or larger preparations. A brief rest can make the chicken easier to slice cleanly and may reduce the amount of liquid released during cutting.
The best resting approach depends on the size and preparation of the chicken. There is no single waiting time that works for every situation. If crispy skin is the goal, avoid covering the chicken in a way that could soften the exterior while it stands.
Ignoring Thickness When Cooking
Thickness plays a major role in how quickly heat reaches the center of chicken. Two pieces can have a similar weight but cook differently if one is much thicker than the other. A large, uneven, or thick piece may need more attention because the center takes longer to reach the desired temperature.
Instead of watching the clock alone, pay attention to the actual shape of the chicken. If a boneless breast is unusually thick or uneven, techniques such as butterflying or pounding may help create a more even shape when the recipe allows. Checking the thickest portion with a thermometer helps confirm when it is ready.
Waiting Until the Last Minute to Season
Seasoning chicken only after it reaches the pan can leave the flavor concentrated mostly on the surface. Adding salt before cooking gives it more time to dissolve in surface moisture and season the chicken more evenly.
When time allows, seasoning before cooking is a simple step that can improve the overall result. For cooks interested in dry-brining, Cook’s Illustrated has tested seasoning chicken several hours ahead and includes a 6–24 hour window for certain applications. That timing is not a requirement for every recipe, but it shows how advance preparation can be useful when planning ahead.
Cooking great chicken at home usually does not require complicated tricks. Paying attention to moisture, spacing, thickness, seasoning, cooking method, and temperature can make a bigger difference than simply following the clock. Small adjustments can turn an ordinary chicken dinner into a more consistent one.