These Homemade Strawberry Marshmallows Get Their Pretty Pink Color From Real Fruit
A strawberry marshmallow should taste like strawberries, not simply look pink. Making your own gives the fruit a starring role, with fresh strawberry purée supplying both flavor and color. The ingredient list is surprisingly short: gelatin, sugar, corn syrup, strawberries, and a few pantry extras. The transformation happens when hot syrup meets the fruit-and-gelatin mixture and a stand mixer turns it into a thick, pale-pink cloud ready for the pan.
Recipe developer Krissy Allori’s strawberry marshmallows at Self Proclaimed Foodie offer a straightforward starting point, yielding about 36 pieces from an eight-inch-square pan. Her method requires a candy thermometer and a stand mixer, but no artificial coloring or strawberry extract. The active work is relatively brief; the setting time requires planning. Allow four to 10 hours before cutting, preferably overnight, rather than promising these as a dessert you can start just before guests arrive.
A Short Ingredient List With One Important Measurement
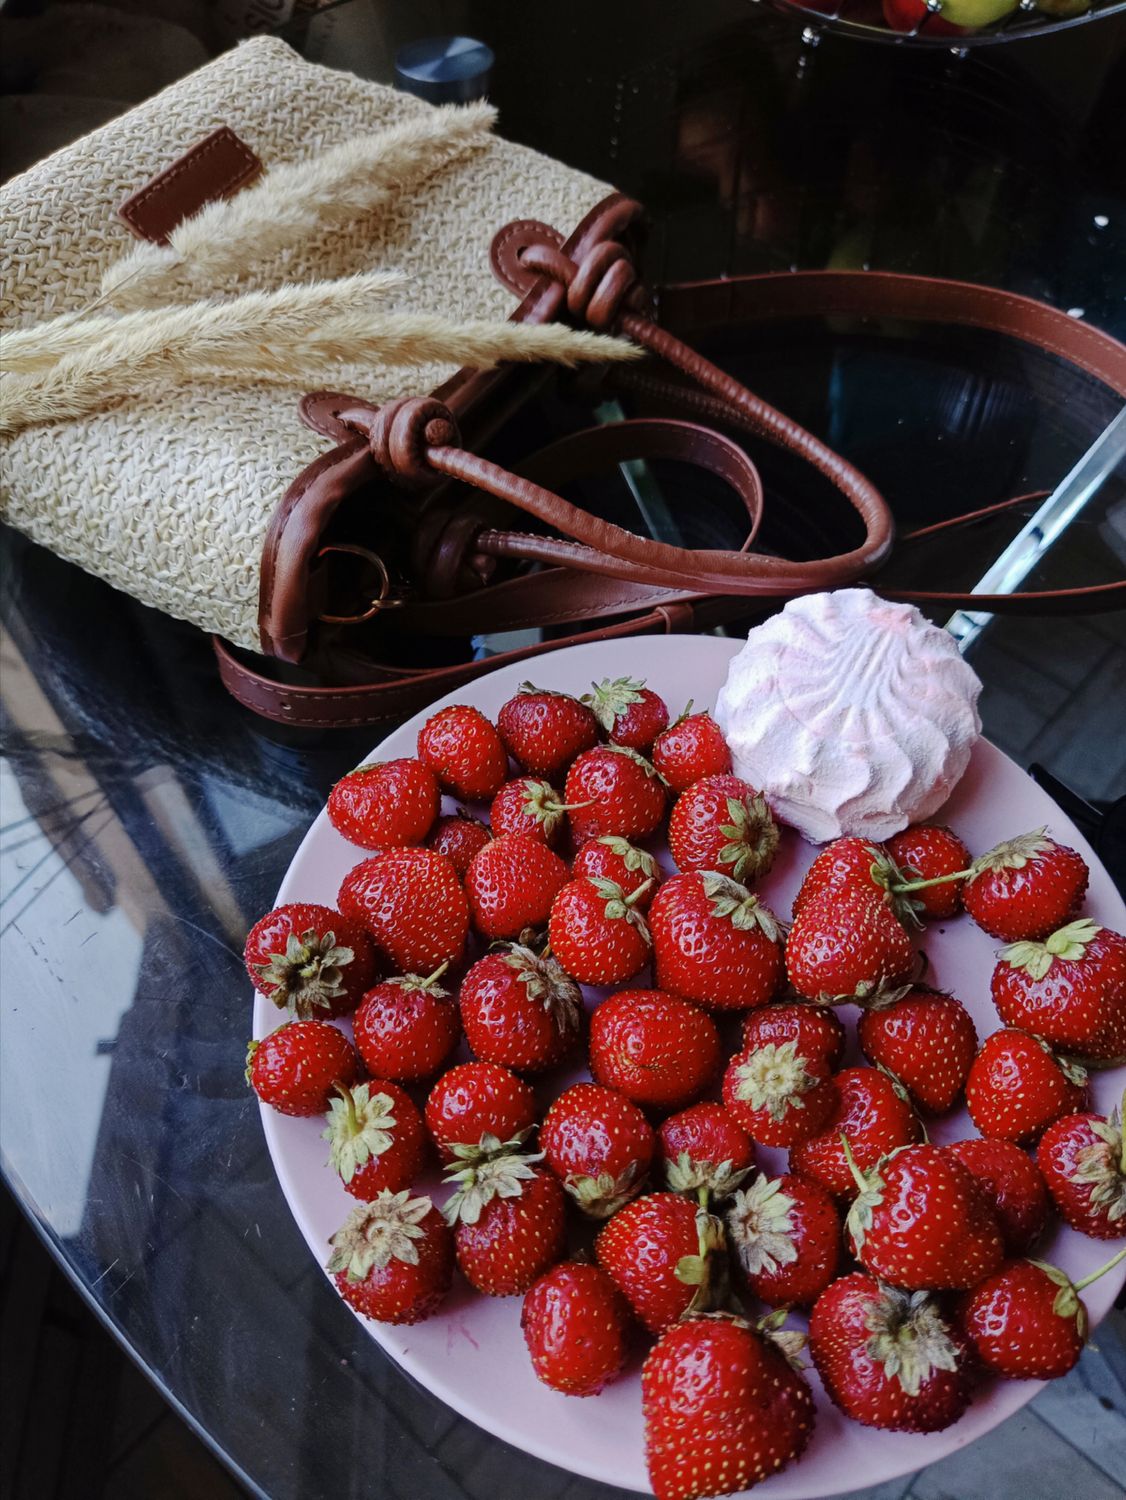
For Allori’s recipe, gather ½ ounce unflavored gelatin (two ¼-ounce packets); ½ cup strawberry purée; ¾ cup granulated sugar; ½ cup light corn syrup; a pinch of kosher salt; and ¼ cup water. For the pan and finishing coating, you will need nonstick spray, three tablespoons powdered sugar, and three tablespoons cornstarch. Freeze-dried strawberry pieces are an optional decoration, not a requirement for getting strawberry flavor into this batch.
Use unflavored gelatin rather than strawberry-flavored gelatin dessert mix. The latter introduces additional sugar and flavoring, making it a different ingredient rather than an interchangeable shortcut. Likewise, stick with the measured purée and corn syrup instead of freely adding extra fruit or substituting another sweetener. Allori does not provide a tested corn-syrup replacement for this formula, and adding more strawberry liquid would change the proportions you are relying on to produce a set marshmallow.
Before starting, set out the thermometer, saucepan, mixer with its whisk attachment, rubber spatula, and baking dish. Prepare the pan early: spray it with nonstick spray, mix the powdered sugar and cornstarch, and shake about one-third of that mixture around the bottom and sides. Grease the spatula as well. Allori prepares these items during whipping, but having them ready beforehand removes a task from the moment when the marshmallow mixture is finished and waiting to be transferred.
Cook the Syrup, Then Let the Mixer Do Its Job
Wash and hull the strawberries, then blend until smooth and measure ½ cup of purée. Combine it with the gelatin in the stand-mixer bowl, swirling to moisten the gelatin and prevent clumping. Leave that mixture to sit while you make the syrup. This resting step is called blooming: the gelatin hydrates before the hot syrup arrives. It also places the fruit directly in the marshmallow base rather than leaving strawberry flavor for a coating or topping.
In a small saucepan, combine the granulated sugar, light corn syrup, salt, and water. Following Allori’s method, heat over medium-high with the lid on for a few minutes to bring it to a boil, then uncover and cook until the thermometer reads 240°F. Remove the pan from the heat as soon as it reaches that temperature. The thermometer is more useful than guessing from the bubbles or relying on a fixed number of minutes; Allori specifies this temperature to help the marshmallows set properly.
With the mixer running on low, slowly and carefully pour the hot syrup into the strawberry-gelatin mixture. Keep hands clear of the hot syrup and avoid splashing as you pour. Once all the syrup is incorporated, increase the mixer to high and beat for approximately 13 to 14 minutes, until the mixture is pale pink, thick, and just warm. “Don’t rush the mixing time,” Allori advises. The extended whipping is part of achieving the fluffy texture, not an optional finishing flourish.
Scrape the mixture into the prepared dish with the greased spatula and spread it into an even layer. Sprinkle the top with half the remaining powdered sugar and cornstarch mixture, distributing it across the surface. Leave the pan uncovered for four to 10 hours; Allori prefers overnight. Do not rush straight to cutting because the top looks finished. The resting period lets the slab firm up enough to lift, slice, and coat without turning the process into a sticky wrestling match.
Related: Winter Foods That Keep You Warm, Healthy and Satisfied All Season Long
Cut, Coat, and Give Them Something Chocolatey
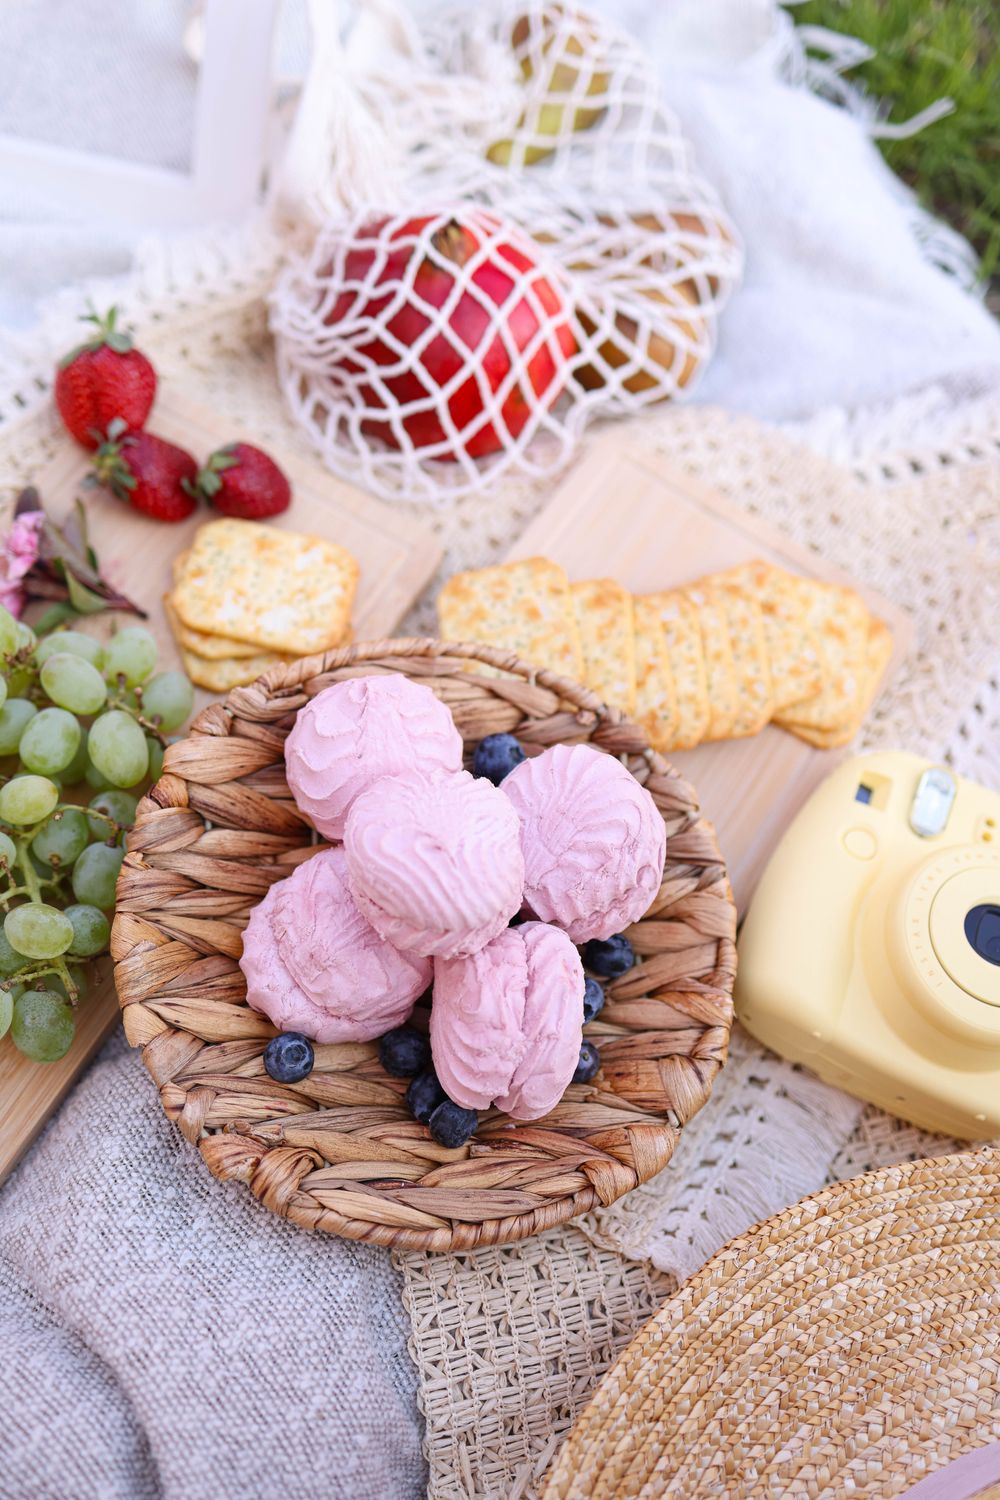
Lift the set marshmallow slab from the pan and place it on a cutting board, then cut it into your preferred shapes. Roll each piece in the remaining powdered sugar and cornstarch mixture, covering the newly exposed sticky sides. That coating is functional, not merely decorative: it helps keep the pieces from sticking together. If using Allori’s optional freeze-dried strawberry garnish, make a small opening in the top of each marshmallow and press a berry piece into it.
Fresh purée is not the only route to strawberry marshmallows, but different methods need different formulas. Jamie, the recipe developer behind My Baking Addiction, uses freeze-dried strawberry powder in her separate recipe. “This added lots of flavor without adding extra moisture to the recipe,” she explains. Her version has different ingredient quantities and instructions, so it should be followed as a complete alternative, not used as permission to replace the purée in Allori’s batch with an arbitrary spoonful of powder.
Once finished, the marshmallows can become more than a candy-bowl treat. Allori suggests using them in s’mores, dipping them in melted chocolate, adding small pieces to fudge, or topping hot cocoa. Store her fresh-purée version in an airtight container; she also allows freezing for longer storage without specifying a fixed shelf life in the recipe. The real reward is the strawberry flavor running through each piece, whether you eat one plain or sandwich it between chocolate and graham crackers.