Air Fryer Cheesy Garlic Bread
Do you love cheesy garlic bread? What if I told you that you could make it in your air fryer? Imagine the possibilities without any of the mess or hassle!
Air Fryer Cheesy Garlic Bread
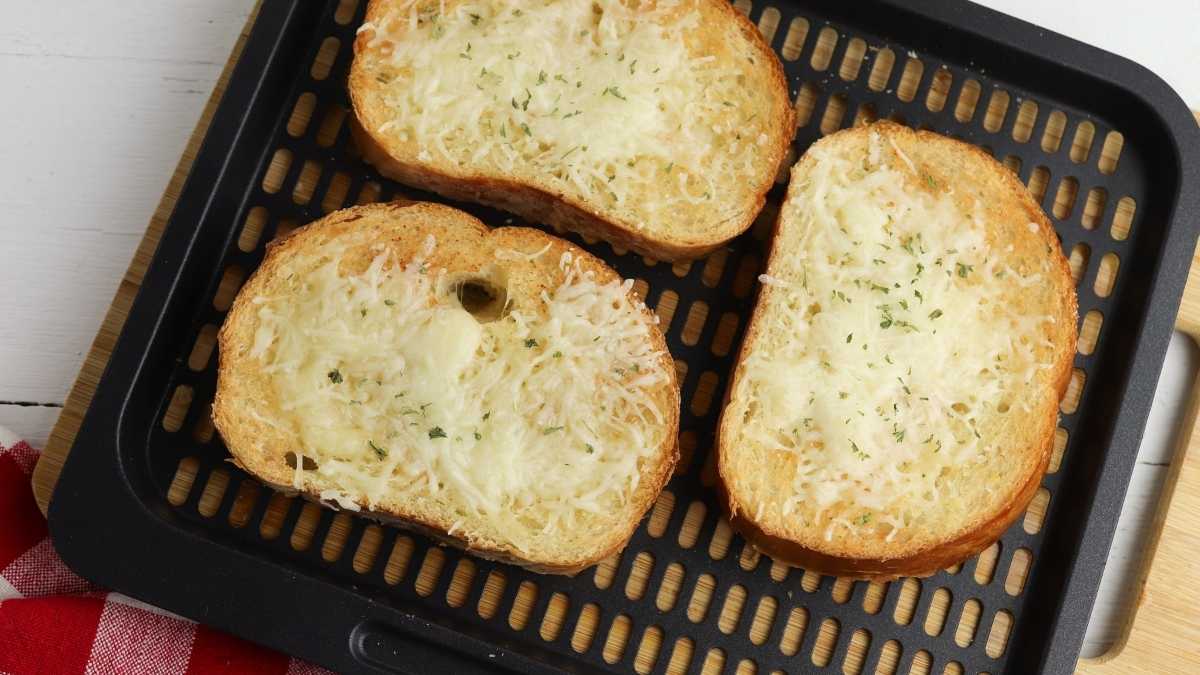
Garlic bread in the Ninja Air Fryer comes out crispy every single time.
Imagine the possibilities – crispy, cheesy garlic bread without any of the mess or hassle!
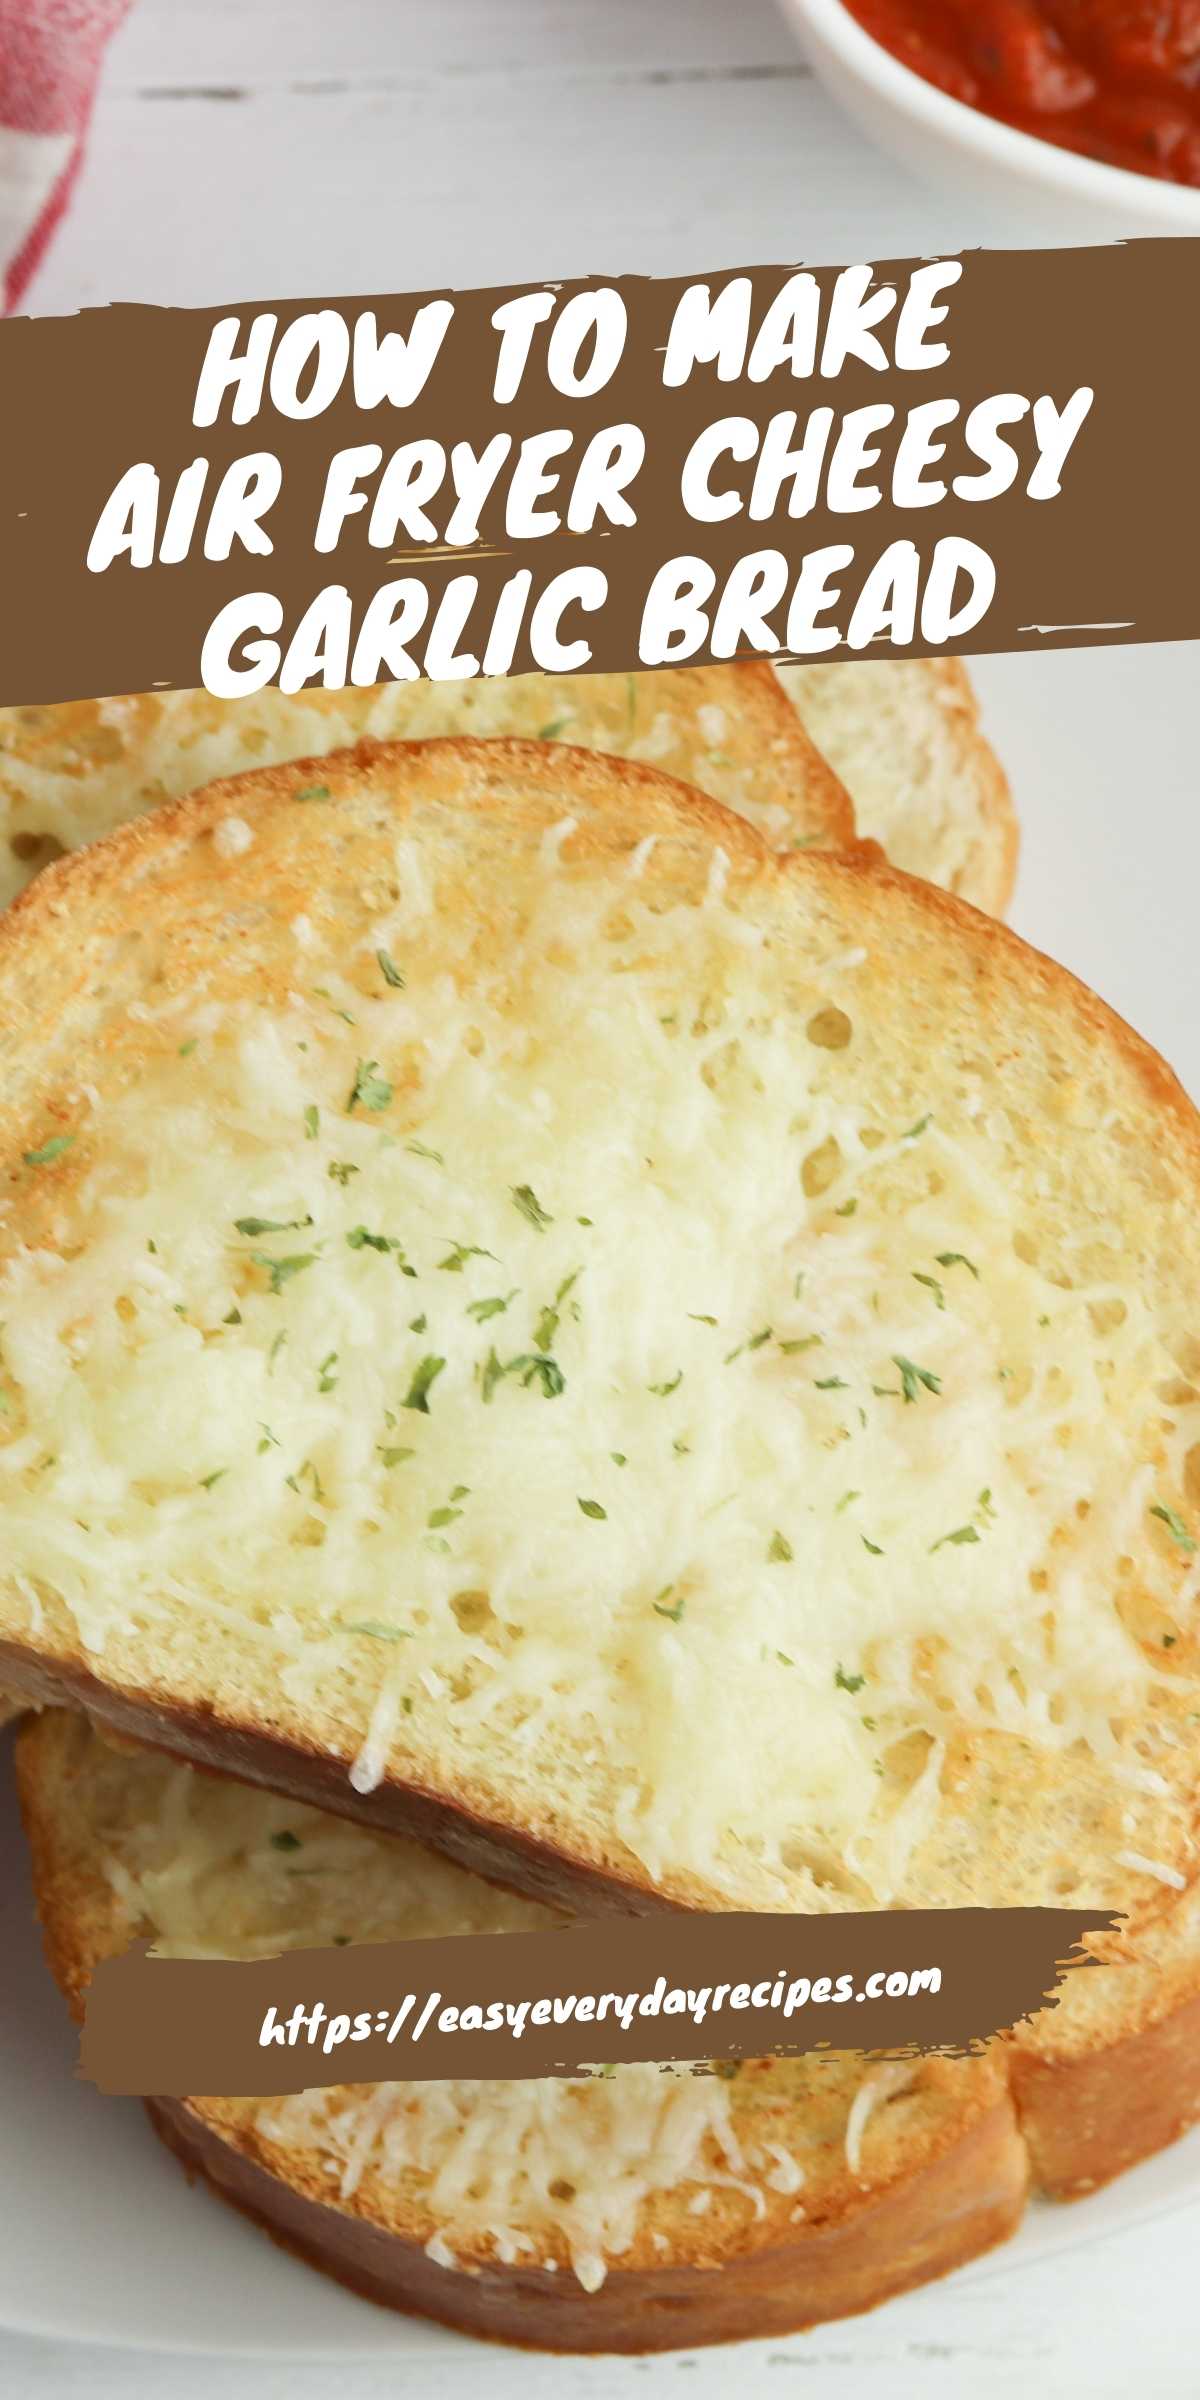
In this blog post, I’ll show you how to make air fryer cheesy garlic bread that will rival anything you can get at a restaurant.
So what are you waiting for? Let’s get started!
You can even turn it into Air Fryer Pizza if you wanted to with your choice of toppings.
Why You Will Love This Recipe
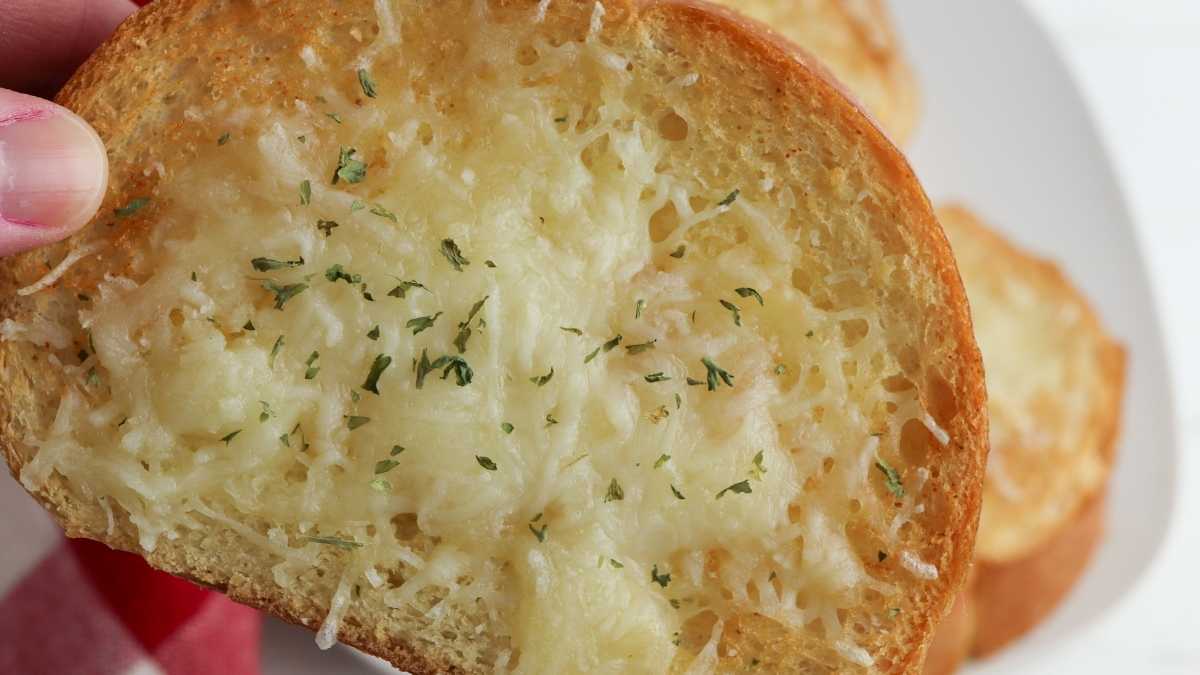
- Air fryer cheesy garlic bread is a favorite for its crunchy exterior and melt-in-your-mouth interior.
- Cheese and garlic provide an extra flavor profile to the indulgent dish.
- Air frying makes it possible to enjoy your favorite comfort foods without any extra fat or calories.
- Enjoy classic tastes with minimal effort and maximum taste with air fried cheesy bread.
Makes 8 to 10 servings
Prep time: 5 minutes
Cook time: 6 minutes

Air Fryer Bread Ingredients
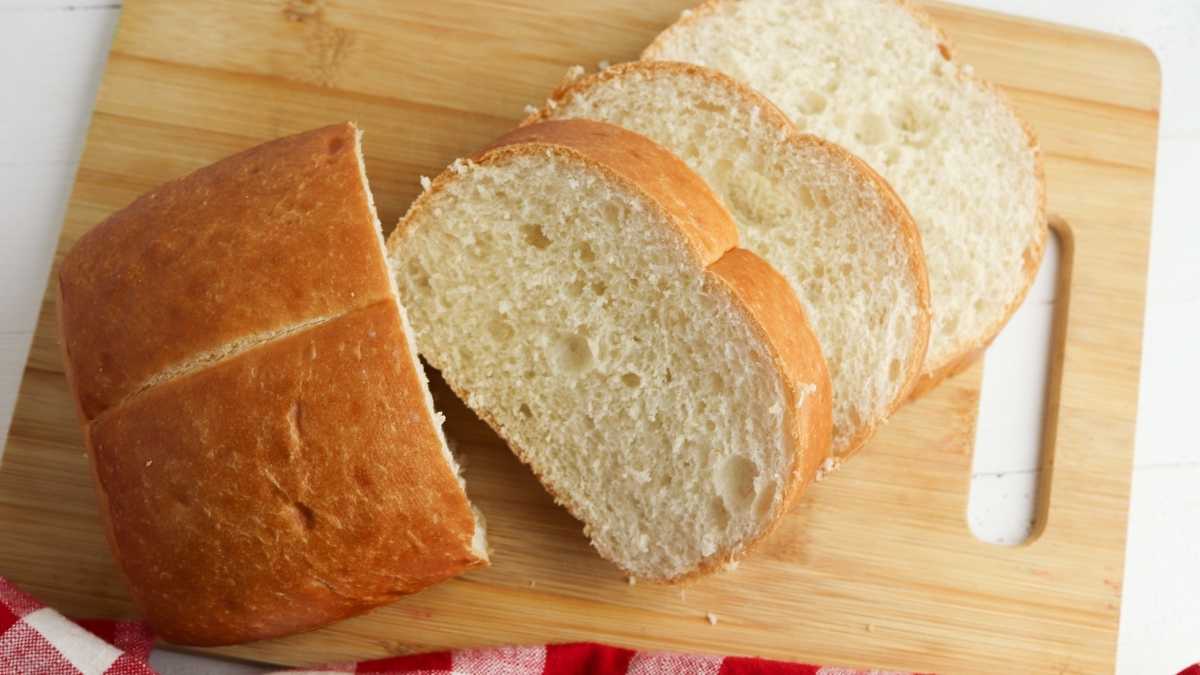
- Italian bread
- Butter, melted
- Garlic powder
- Shredded Italian blend cheese
- Dried parsley for garnish
- For exact measurements, please see the recipe card below.
How to Make Cheesy Bread in the Air Fryer
Preheat the air fryer to 350 degrees.
Cut the loaf of bread into one-inch slices.
Brush both sides of each slice of bread with melted butter and top with garlic powder.
Place the bread slices in the tray or basket of the air fryer.
Cook for 4 minutes, then remove the tray or basket and flip the slices.
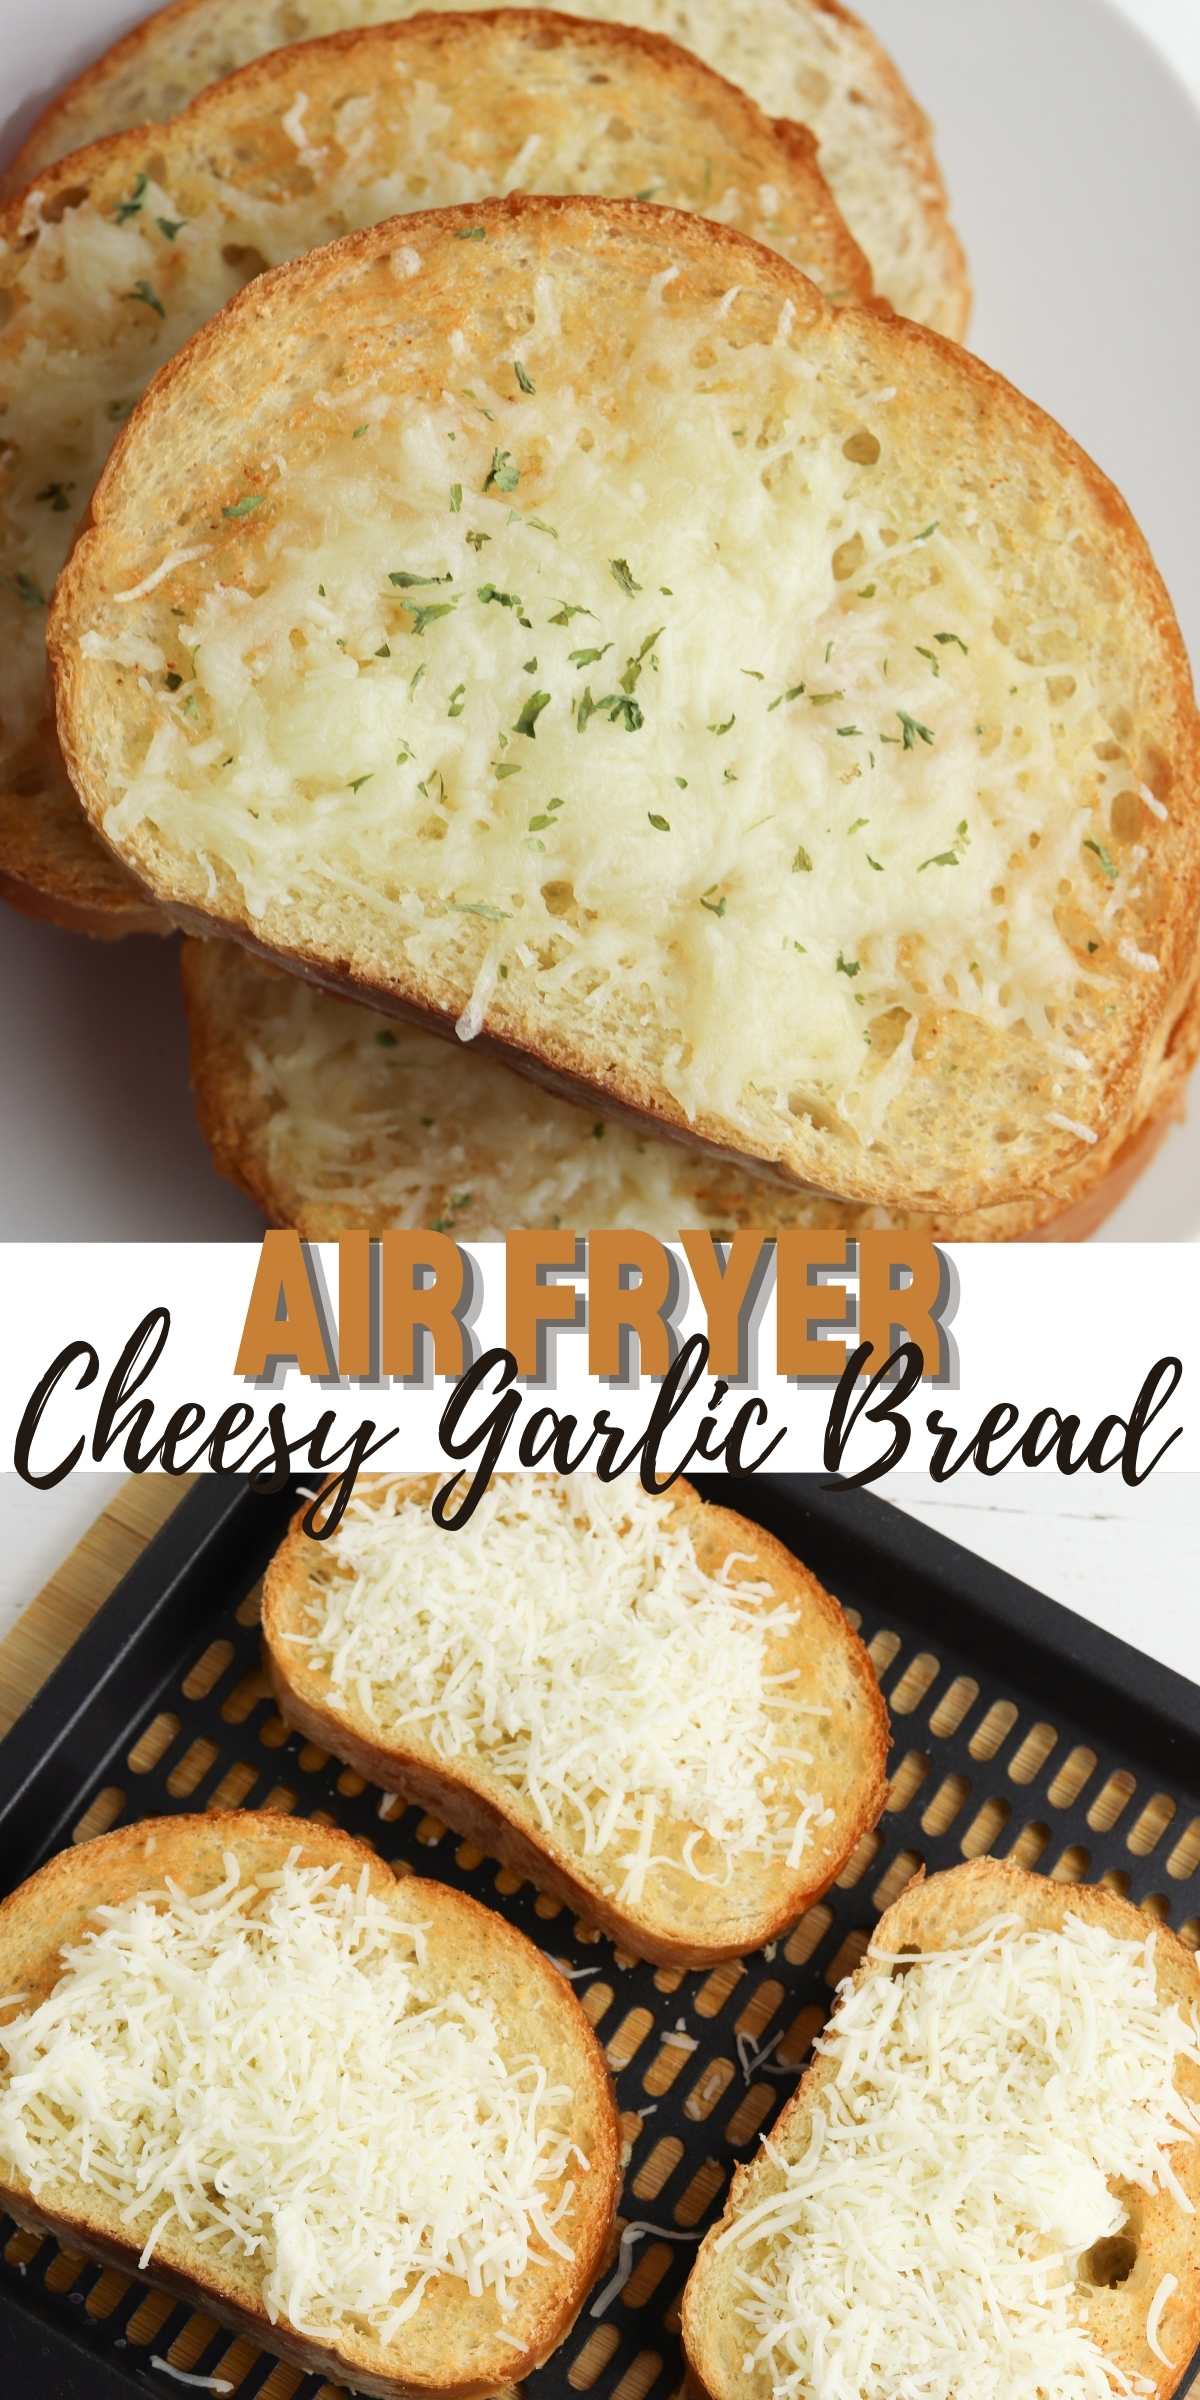
Top each slice with a small amount of shredded cheese and cook for an additional two minutes.
Garnish with dried parsley before serving.

Recipe Variations
Air fryer cheesy garlic bread variations are endless. You can start by using different types of bread.
From a French baguette to ciabatta, sourdough, and even sliced bread.
Topped with melted butter, herbs, and spices like parsley, oregano, or paprika, plus Parmesan cheese or mozzarella for an extra cheesy kick, it is hard to go wrong with this classic snack.
For an even heartier snack, try adding diced tomatoes or fresh basil leaves on top after cooking for a burst of flavor in every bite.
No matter what ingredients you choose to mix in with your air-fried garlic bread, you’ll be sure to have a tasty treat that everyone will love!
More Air Fryer Recipes
Air Fryer Cheesy Garlic Bread
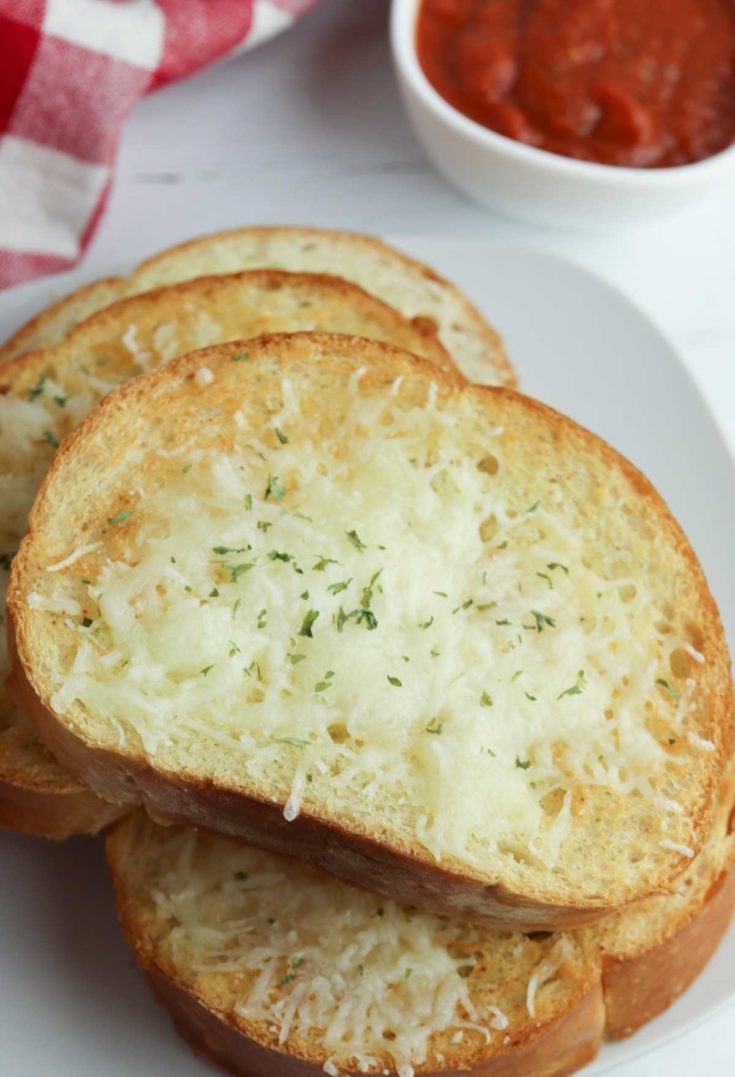
Imagine the possibilities – crispy, cheesy garlic bread without any of the mess or hassle!
Ingredients
- 1 loaf Italian bread
- ½ cup butter, melted
- 1 tablespoon garlic powder
- 1 cup shredded Italian blend cheese
- Dried parsley for garnish
Instructions
- Preheat the air fryer to 350 degrees. Cut the loaf of bread into one-inch slices.
- Brush both sides of each slice of bread with melted butter and top with garlic powder.
- Place the bread slices in the tray or basket of the air fryer.
- Cook for 4 minutes, then remove the tray or basket and flip the slices. Top each slice with a small amount of shredded cheese and cook an additional two minutes.
- Until cheese is melted.
- Garnish with dried parsley before serving.
Recommended Products
As an Amazon Associate and member of other affiliate programs, I earn from qualifying purchases.
-
Amazon Basics 12-Piece Color-Coded Kitchen Knife Set, 6 Knives with 6 Blade Guards
-
Pastry Brush Set for Cooking Baking Heat Resistant Silicone Small Ideal for BBQ Grill Marinating or Spreading Chocolate Candy Butter & Oil
-
Ninja FD401 Foodi 12-in-1 Deluxe XL 8 qt. Pressure Cooker & Air Fryer that Steams, Slow Cooks, Sears, Sautés, Dehydrates & More, with 5 qt. Crisper Basket, Deluxe Reversible Rack & Recipe Book, Silver
Nutrition Information
Yield
8Serving Size
1Amount Per Serving Calories 321Total Fat 19gSaturated Fat 10gTrans Fat 1gUnsaturated Fat 6gCholesterol 46mgSodium 504mgCarbohydrates 30gFiber 2gSugar 2gProtein 9g
Be sure to follow us on Pinterest and PIN IT FOR LATER!







One Comment