The Secret to Crispy Oven Chicken Isn’t One Trick, It’s These 6 Simple Steps
Few kitchen disappointments are as common as perfectly cooked chicken with pale, soft, or rubbery skin instead of golden and crisp. Many cooks look for one secret fix a special ingredient, a higher oven temperature, or a last-minute trick but crispy chicken skin does not depend on a single shortcut.
The best results come from controlling several conditions at once: reducing surface moisture, seasoning properly, keeping the skin exposed to dry heat, and using the right roasting method for the cut of chicken. Crispy skin comes from several small choices working together, not one magic technique.
Whether you are roasting wings, thighs, drumsticks, chicken quarters, or a whole bird, these six steps will help you create better browning and a crispier finish.
Start With the Right Chicken and Keep the Skin Intact
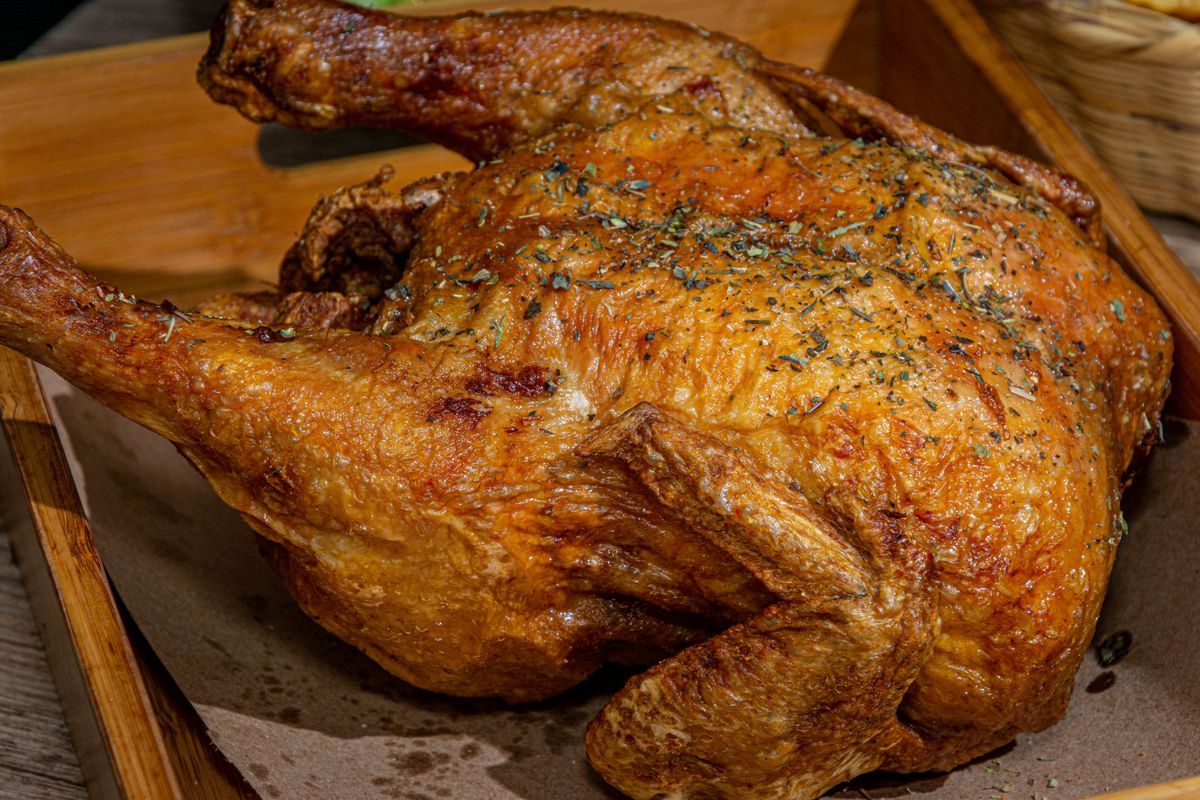
Crispy skin starts before you even turn on the oven. These techniques work best with skin-on chicken because the goal is to dry, brown, and render the fat beneath the skin. Skinless cuts do not benefit from the same crisping process because there is no skin layer to transform.
Different cuts also behave differently. Wings respond especially well to drying and high-heat roasting, while whole chickens need more attention because they have thicker meat and different cooking times. Bone-in thighs, drumsticks, quarters, and whole birds can all benefit from the same basic principles, but timing and temperature need to match the specific cut. Before cooking, remove excess moisture from the chicken. Packaging juices, thawing liquid, and wet marinades can leave the skin damp, making it harder to crisp.
Related: 10 Powerful Cooking Tricks That Instantly Improve Your Meals
Dry the Skin Before Roasting
The first major rule of crispy chicken skin is simple: start with a dry surface. Pat the chicken skin thoroughly with paper towels before seasoning. If roasting a whole chicken, dry both the outside and the cavity. This step is especially important after wet brining, thawing, or using a wet marinade.
Why does this work? Surface moisture has to evaporate before browning can happen effectively. A wet chicken surface spends part of the cooking process releasing water instead of developing the deep color and crisp texture associated with roasted chicken.
Drying the chicken alone does not guarantee crisp skin. Heat, airflow, spacing, and fat rendering all play a role. It is the first step in a process, not the entire solution.
Salt Ahead and Refrigerate Uncovered
If time allows, seasoning chicken ahead of time can improve both flavor and texture.
The most effective approach is combining salt or a dry seasoning blend with uncovered refrigerator time. Salt seasons the chicken while the refrigerator’s dry air helps remove surface moisture. This drying period, not simply sprinkling salt before cooking, creates the crisping benefit.
For chicken pieces, tested methods commonly use several hours to overnight of uncovered refrigeration. Some recipes use about 6 to 24 hours, while others use overnight drying periods depending on the cut and preparation. Follow the specific recipe’s timing rather than a universal rule.
This step is especially useful for wings, thighs, drumsticks, quarters, and whole chickens. You can still use wet marinades and sauces, but they add moisture, so dry the chicken properly afterward if you want crisp skin.
Keep the Skin Exposed to Dry, Circulating Heat
Crispy skin needs access to hot air. Crowding chicken pieces together or allowing the skin to sit in liquid can create a humid environment that slows browning.
Arrange chicken skin-side up in a single layer with space between pieces. This lets heat circulate and helps the surface dry and brown more evenly.
A wire rack placed over a rimmed baking sheet can be useful, especially for wings and chicken pieces. It lifts the chicken above rendered fat, improves airflow, and exposes more of the skin to dry heat.
However, a rack helps but isn’t mandatory. Some successful roast chicken methods use skillets or roasting pans without one. The more important factors are keeping the skin exposed and avoiding unnecessary moisture around the chicken.
Use Oven Heat Strategically
A hot oven is essential for crisp chicken skin, but no single temperature works for every recipe. Many tested crisp-skin methods use temperatures between roughly 400°F and 450°F. Some recipes use a hotter finishing stage after the chicken has already cooked for a while, but that approach depends on the recipe and the type of chicken being prepared.
Always fully preheat the oven before roasting. A properly heated oven provides the dry heat needed to render fat and brown the surface. Starting chicken in an oven that has not reached the correct temperature can slow the crisping process.
Don’t assume the highest possible temperature is always best. Extremely high heat can burn spice rubs, sugary sauces, or glazes before the chicken is fully cooked. Use a temperature that fits the specific recipe and cut.
Protect the Crisp Skin After Cooking
The work does not end when the chicken comes out of the oven. How you handle the chicken afterward can affect the final texture.
Avoid tightly covering freshly roasted chicken if crisp skin is important. Trapped steam can soften the surface and reduce the crunch you worked to create.
If the recipe includes a sauce or glaze, apply it at the recommended stage. Wet coatings, especially sugary ones, are often better added later in cooking so they do not interfere with browning.
Also, do not judge doneness only by how dark the skin looks. Cook chicken according to the recipe’s recommended method, using appropriate temperature checks when needed.
The Simple Truth About Crispy Chicken Skin
Crispy chicken skin is not created by one secret ingredient or one extreme cooking trick. It comes from a series of practical decisions: starting with dry skin, seasoning ahead when possible, creating airflow, using suitable heat, and protecting the finished texture.
Once you understand these principles, you can adjust them for different cuts of chicken and different recipes instead of relying on a single method that may not work in every situation.
Other Posts You Might Also Like
. 10 Best Easy Dinner Recipes for Families
. The Fantastic Chemistry Behind Why 6 Popular Foods Taste So Good