9 Halloween Lunchbox Ideas for a 10-Minute Morning Makeover
Halloween lunch doesn’t need to become another craft project between you and the school drop-off line. A sandwich can wear a spooky silhouette, an olive can grow eight legs, and a snack container can suddenly look back at you. The trick is to decorate food you already planned to pack rather than make an entirely new meal. These nine designs bring the Halloween mood without requiring an oven, elaborate equipment, or a kitchen covered in orange frosting.
Treat the 10-minute window as a decorating target for one lunchbox, not a promise that you can make all nine designs in that time. Start with washed produce, ready-to-eat ingredients, and any sandwich or muffin already prepared. Assembly speed will depend on your ingredients and cutting skills, so choose one centerpiece and an easy supporting detail. Nobody needs nine tiny masterpieces before breakfast.
Give Everyday Lunch a Costume
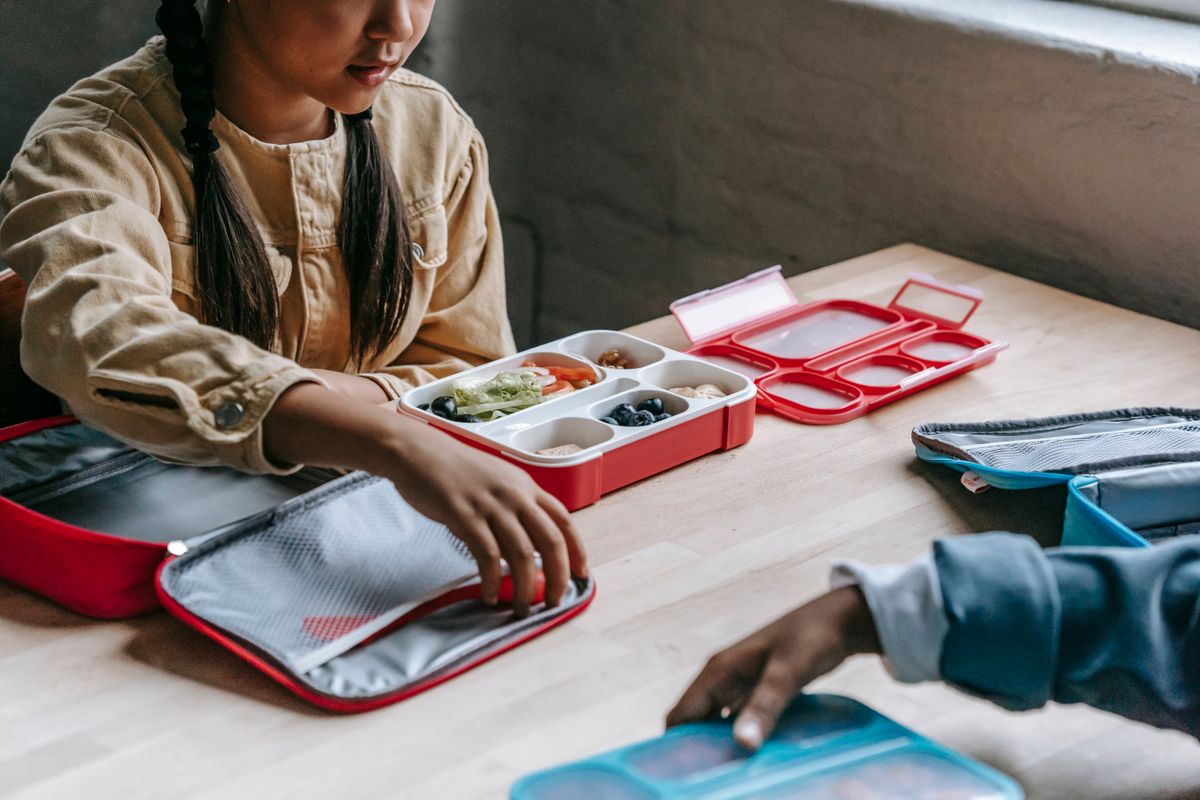
Food Network Kitchen’s Halloween lunchbox guide demonstrates how ordinary sandwiches, olives, muffins, and snack packaging can become seasonal decorations. Several designs below adapt those techniques, with simpler finishing touches for a busy morning. Keep fillings familiar, follow your school’s allergy rules, and choose foods appropriate for your child’s age and eating abilities. The Halloween part should be the appearance, not an unexpected ingredient hiding inside lunch.
The coffin sandwich
Make your usual sandwich, then trim it into a coffin shape: narrow at the top, wider around the shoulders, and tapered toward the bottom. Food Network suggests pumpernickel rye for a darker appearance, but the shape works with whichever bread you normally use. Add a small cheese cross for a finishing touch, or let the silhouette do the work. Pack the trimmed pieces alongside it rather than turning the decorating session into a disappearing-lunch act.
The olive-spider sandwich
Give an ordinary sandwich a resident spider using one pitted black olive. Cut the olive lengthwise, use one half for the body, and slice the other half into four rounds, then halve those into eight legs. Arrange everything on the sandwich, using a little of its spread to help hold the pieces in place. Keep the sandwich flat in its compartment; this spider is assembled from separate pieces, not built for a roller-coaster commute.
The creepy finger sandwich
Prepare a sandwich with a spread-style filling, then trim the crusts and cut it into five narrow strips. Arrange them side by side like a hand, making the middle “finger” slightly longer if you want to get theatrical. Food Network’s version uses pumpkin seeds or almonds as fingernails, attached with peanut butter. Skip those embellishments if they don’t suit your child’s age, allergies, or school rules; the bread fingers still deliver the joke.
Let Snacks Join the Haunting
The apple monster
Healthy Family Project’s apple-monster recipe turns apple quarters into little creatures using peanut butter, strawberry slices, almond teeth, and candy eyes. An adult should cut a mouth-shaped notch into the outside of each cored quarter, then spread the filling inside and tuck in a strawberry “tongue.” Use only toppings that fit your child’s dietary needs, or simplify the design to the mouth and tongue. Pack it upright in a snug compartment so the sandwich doesn’t flatten its personality.
The vampire muffin
Use a ready-made muffin rather than starting a baking project. Poke two small holes in the top with a clean straw, then add a little seedless strawberry or raspberry jam so red streaks run from the “bite marks.” Food Network uses this simple technique to give an ordinary muffin a vampire encounter. Place it in its own compartment or a reusable baking cup, keeping the jam away from everything that did not volunteer for the scene.
The monster snack container
Fill a clear, food-safe container with crackers or another familiar snack, leaving enough room to close the lid comfortably. Draw two eyes and a crooked mouth on a removable paper label, then attach it to the outside. This is a simpler adaptation of Food Network’s snack monster, which uses marshmallows and chocolate chips to create eyes inside a snack bag. The paper-label version keeps decorations separate from the food and lets the container do all the costume work.
Related: 10 Things Kids in the 1970s Did on Halloween That Would Shock Parents Today
The dirt-and-worm pudding cup
Spoon ready-made chocolate pudding into a small, leakproof food container and scatter crushed chocolate cookies over the surface. Add a gummy worm, if appropriate for your child, with one end peeking through the cookie “soil.” Food Network builds its dirt dessert in jars, but a school-appropriate reusable container keeps this version practical for a lunchbox. Pack a spoon and keep the portion modest: This is the playful dessert compartment, not the entire lunch.
The ghostly cutlery bundle
Hold your child’s lunch utensils together and drape a white paper napkin over their upper ends. Gather the napkin beneath the covered tops, securing it with a removable paper band, then draw two eyes on the napkin. Food Network’s original version uses ribbon or twine; the paper band offers an alternative without dangling ties. Keep the bundle separate from moist food so your ghost arrives looking ghostly rather than like a crumpled cleaning cloth.
The sandwich graveyard
Cut a prepared sandwich into two or three upright rectangles, rounding the upper corners to suggest gravestones. Arrange them flat on a lettuce leaf and add small cheese crosses, using the same sandwich-and-cheese approach as Food Network’s coffin design. Keep any decoration large and simple instead of cutting miniature letters before the morning bell. This version gives you a Halloween scene while leaving most of the sandwich intact and ready to eat.
Pack the Chills Safely
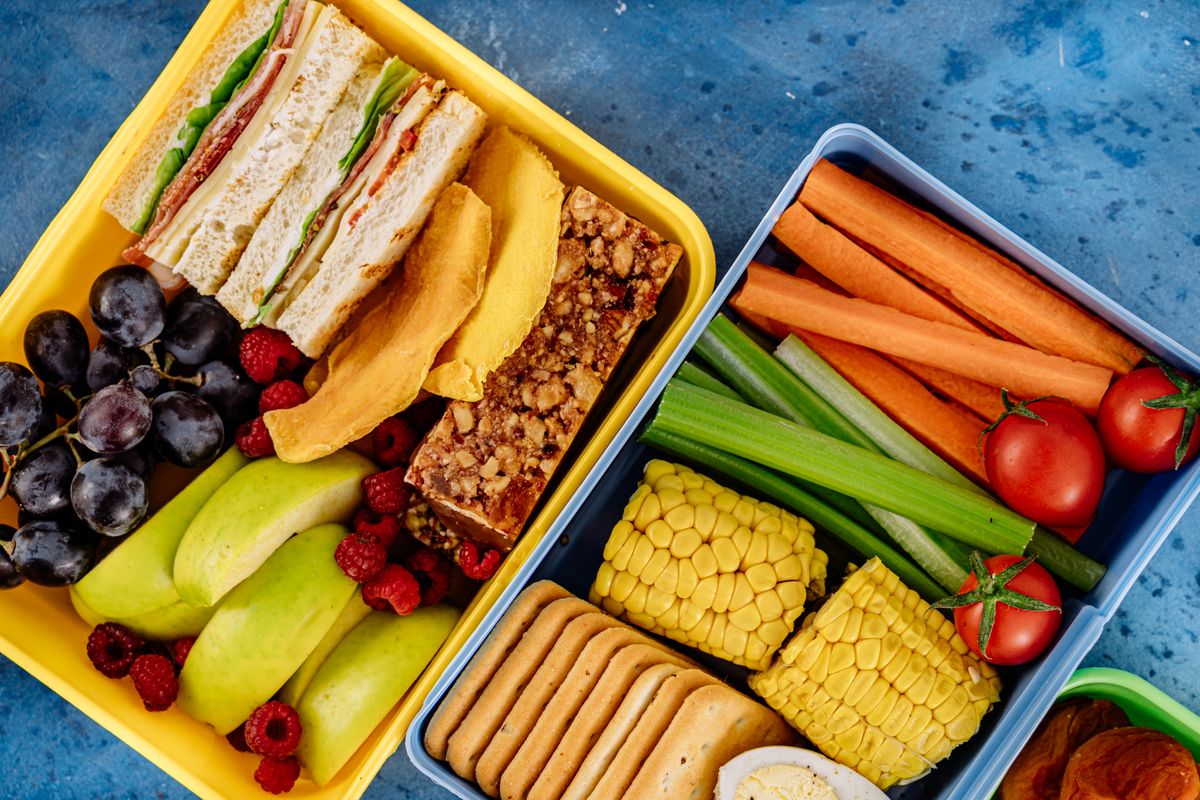
The most important lunchbox accessory is not a candy eyeball. In USDA lunch-packing guidance, Beverly Lopez, a communications program specialist with the Food Safety and Inspection Service, writes: “For cold lunches, use a soft-sided lunch bag and include at least two cold sources.” USDA recommends placing those cold sources above and below perishable foods. That practical step belongs in the plan alongside the decorating supplies.
Two frozen gel packs work, or you can combine a frozen gel pack with a frozen water bottle or juice box. If a refrigerator is available at school, USDA advises storing perishable items there on arrival and leaving the lunch bag open so cold air can circulate. Finish by checking that lids close without crushing the decorations and that utensils are packed. A slightly crooked monster face is fine; a safely packed lunch is what matters.