Mixed Berry Tart with Custard Recipe
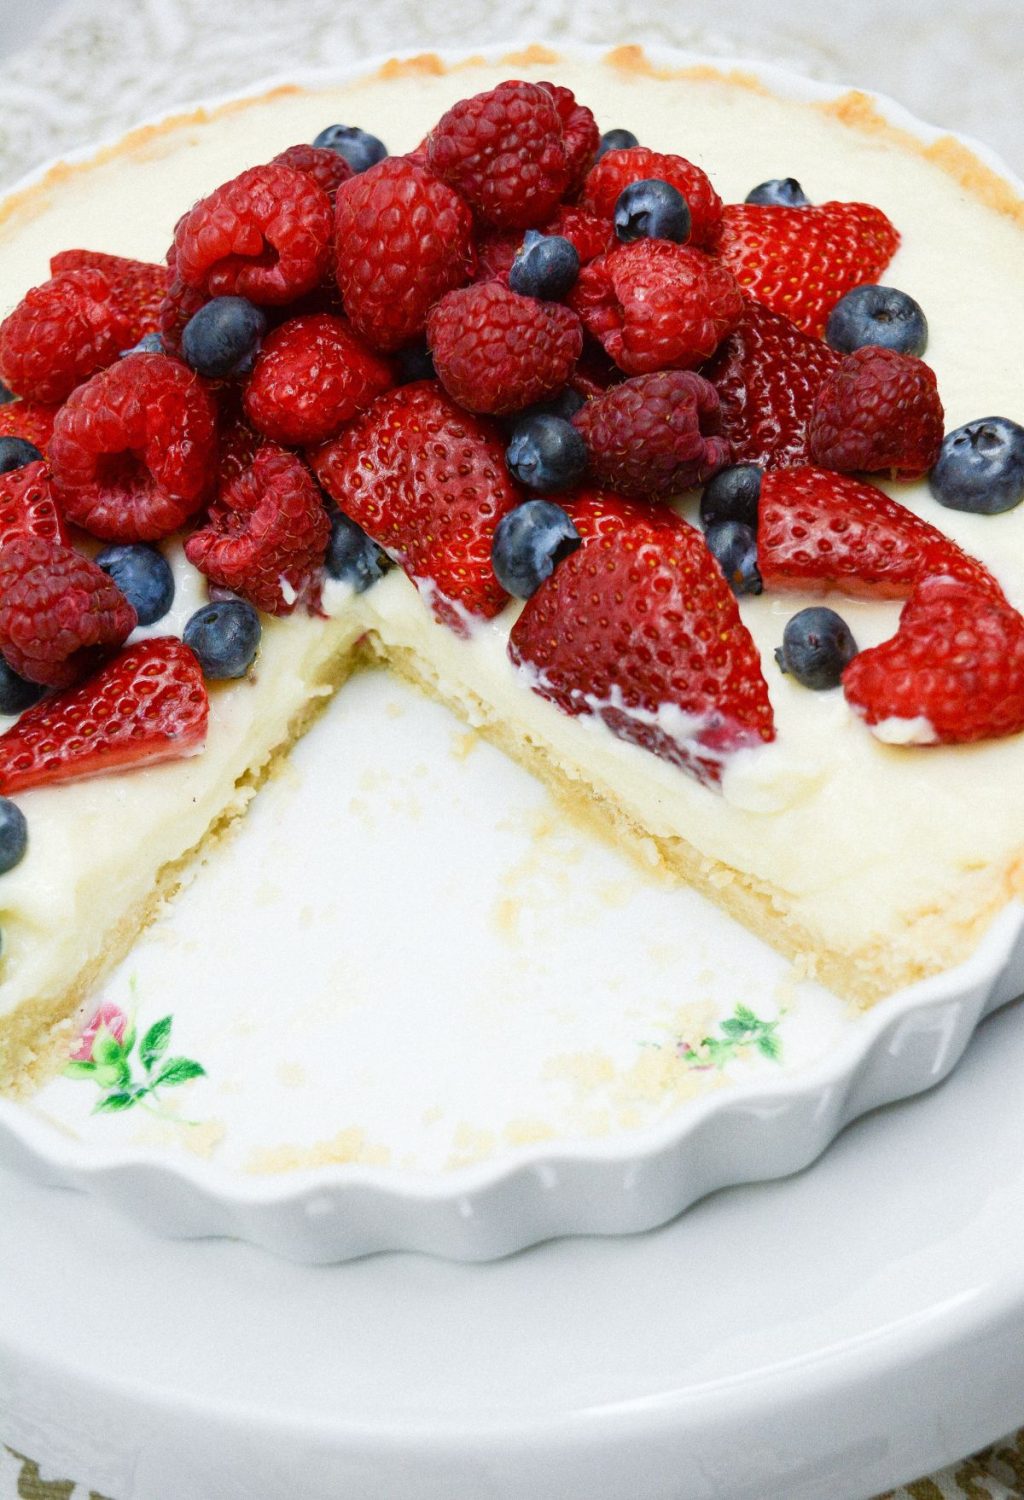
A Berry Tart Features a buttery shortbread crust, creamy vanilla custard, and a medley of colorful and juicy fresh berries, this dessert is easy to make and delicious.
Easy Homemade Berry Tart Recipe
This Berry Tart Features a buttery shortbread crust, creamy vanilla custard, and a medley of colorful and juicy fresh berries, this dessert is easy to make and delicious.
With a simple shortbread crust and the option to use store-bought custard, you don’t need to be a pastry chef to whip up this homemade berry tart.
It’s an easy, elegant dessert that is perfect for any occasion, from brunch to special events.
Why Choose a Mixed Berry Tart with Custard
- Versatility: This recipe offers endless opportunities for customization. Experiment with different combinations of berries or add a hint of citrus zest to the custard for a refreshing twist.
- Balance of Flavors: The tartness of the berries perfectly complements the sweetness of the custard, creating a harmonious balance of flavors that is both satisfying and irresistible.
- Elegant Presentation: With its vibrant colors and elegant appearance, a mixed berry tart with custard is not only a feast for the taste buds but also a feast for the eyes, making it a stunning centerpiece for any dessert table.
- Make-Ahead Convenience: This dessert can be prepared in advance, allowing you to focus on other aspects of your meal or event without sacrificing quality or taste.
Difficulty: Easy
Prep Time: 20 minutes
Bake Time: 12-15 minutes
Inactive Time: 4-8 hours
Servings: 8-10 slices
What You Need
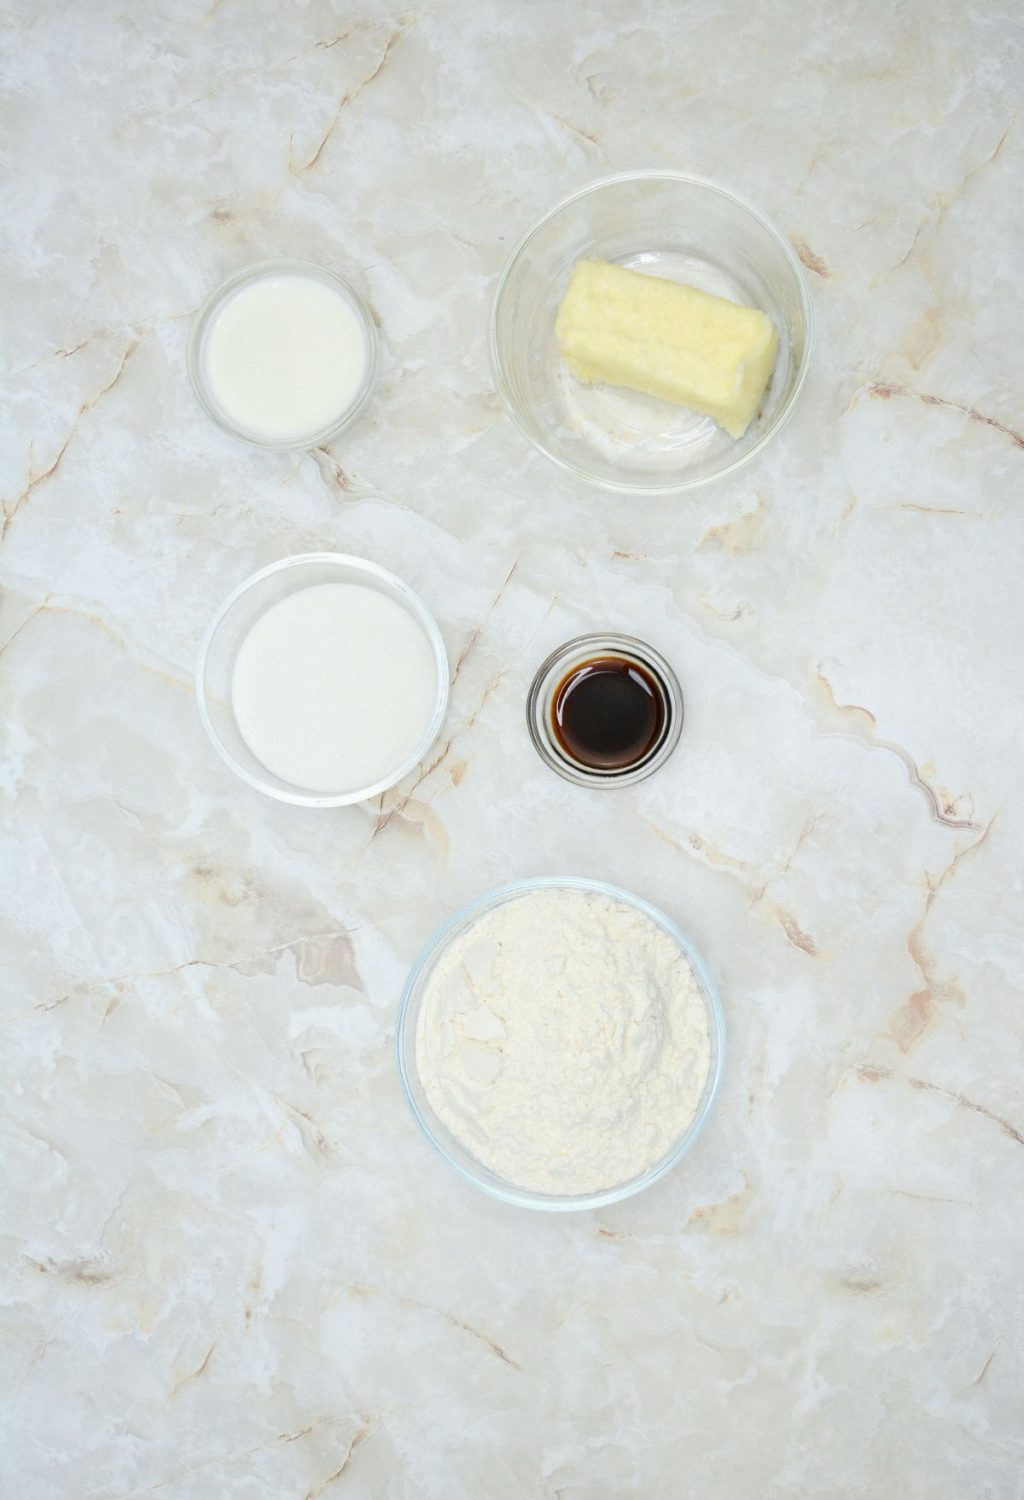
For the crust:
- Unsalted butter, softened
- Sugar
- Flour
- Milk
- Vanilla
For the custard:
- Flour
- Cornstarch
- Sugar
- Milk
- Salt
- Yolks
- Vanilla bean paste (or regular vanilla extract)

For decoration:
- Mixed berries (strawberries, blueberries, raspberries, etc.)
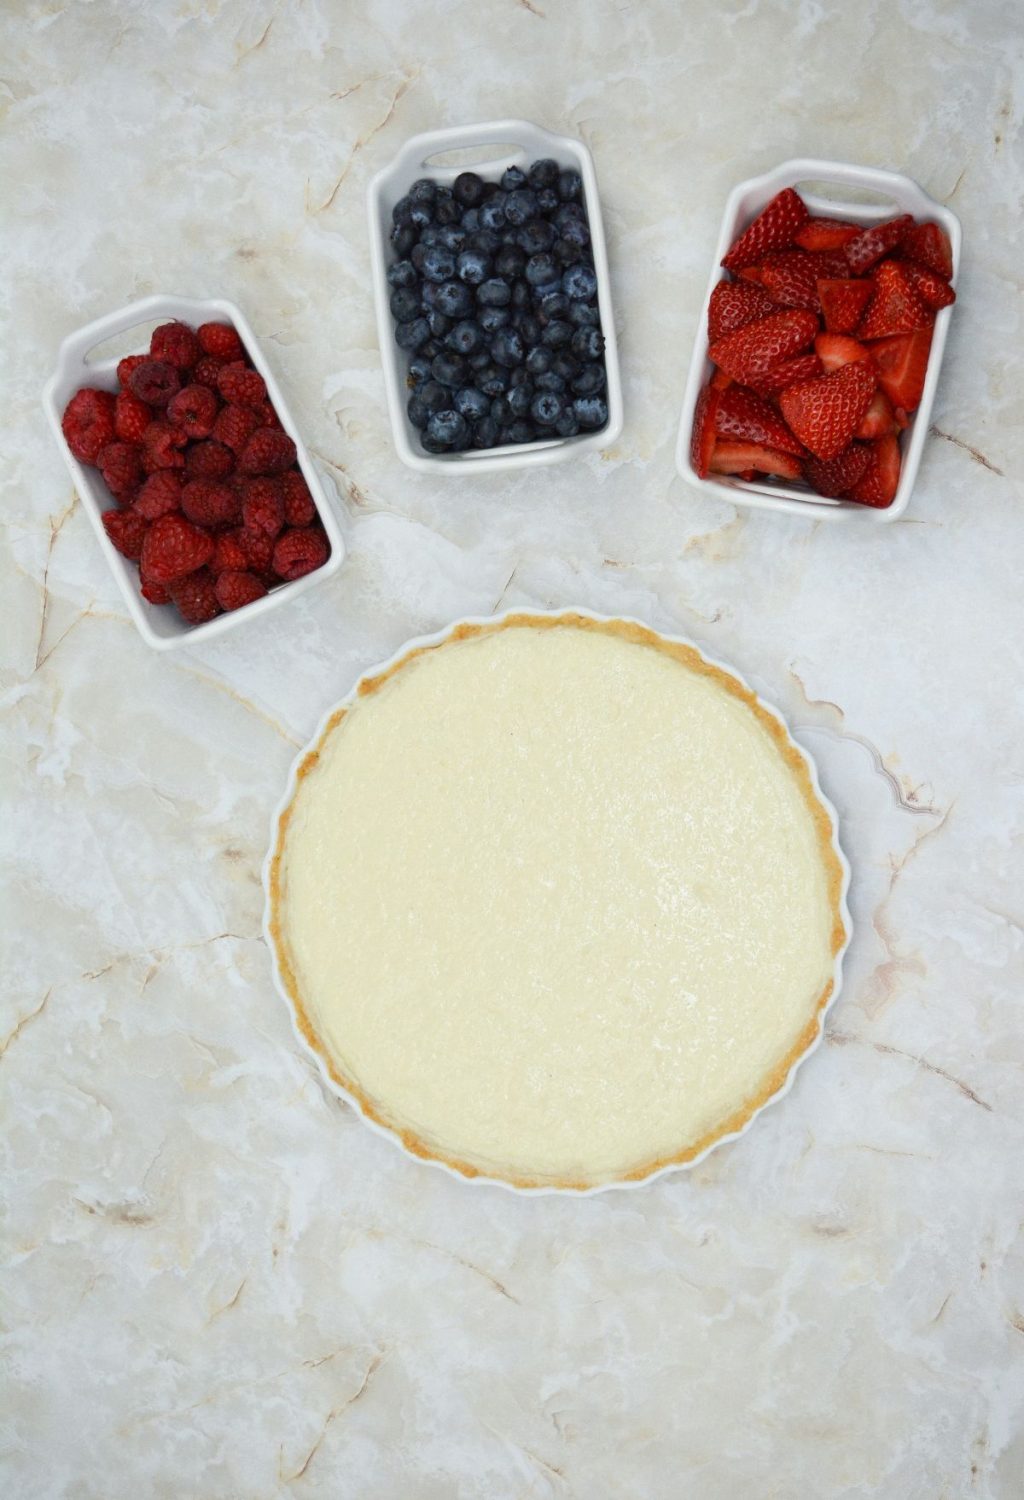
For exact measurements, please see the printable recipe card below.
How to Make A Berry Tart
Preheat the oven to 375 degrees.
In the bowl of a stand mixer, combine the butter and sugar, and cream until smooth.
Add in the flour, milk, and vanilla, and combine well. Continue mixing until the mixture forms a dough and pulls away from the sides of the mixing bowl.

Press the dough into the bottom and sides of your tart baking dish, keeping it even all the way around.
Using a fork, pierce the bottom of the pie crust a few times to prevent air pockets from forming during baking.
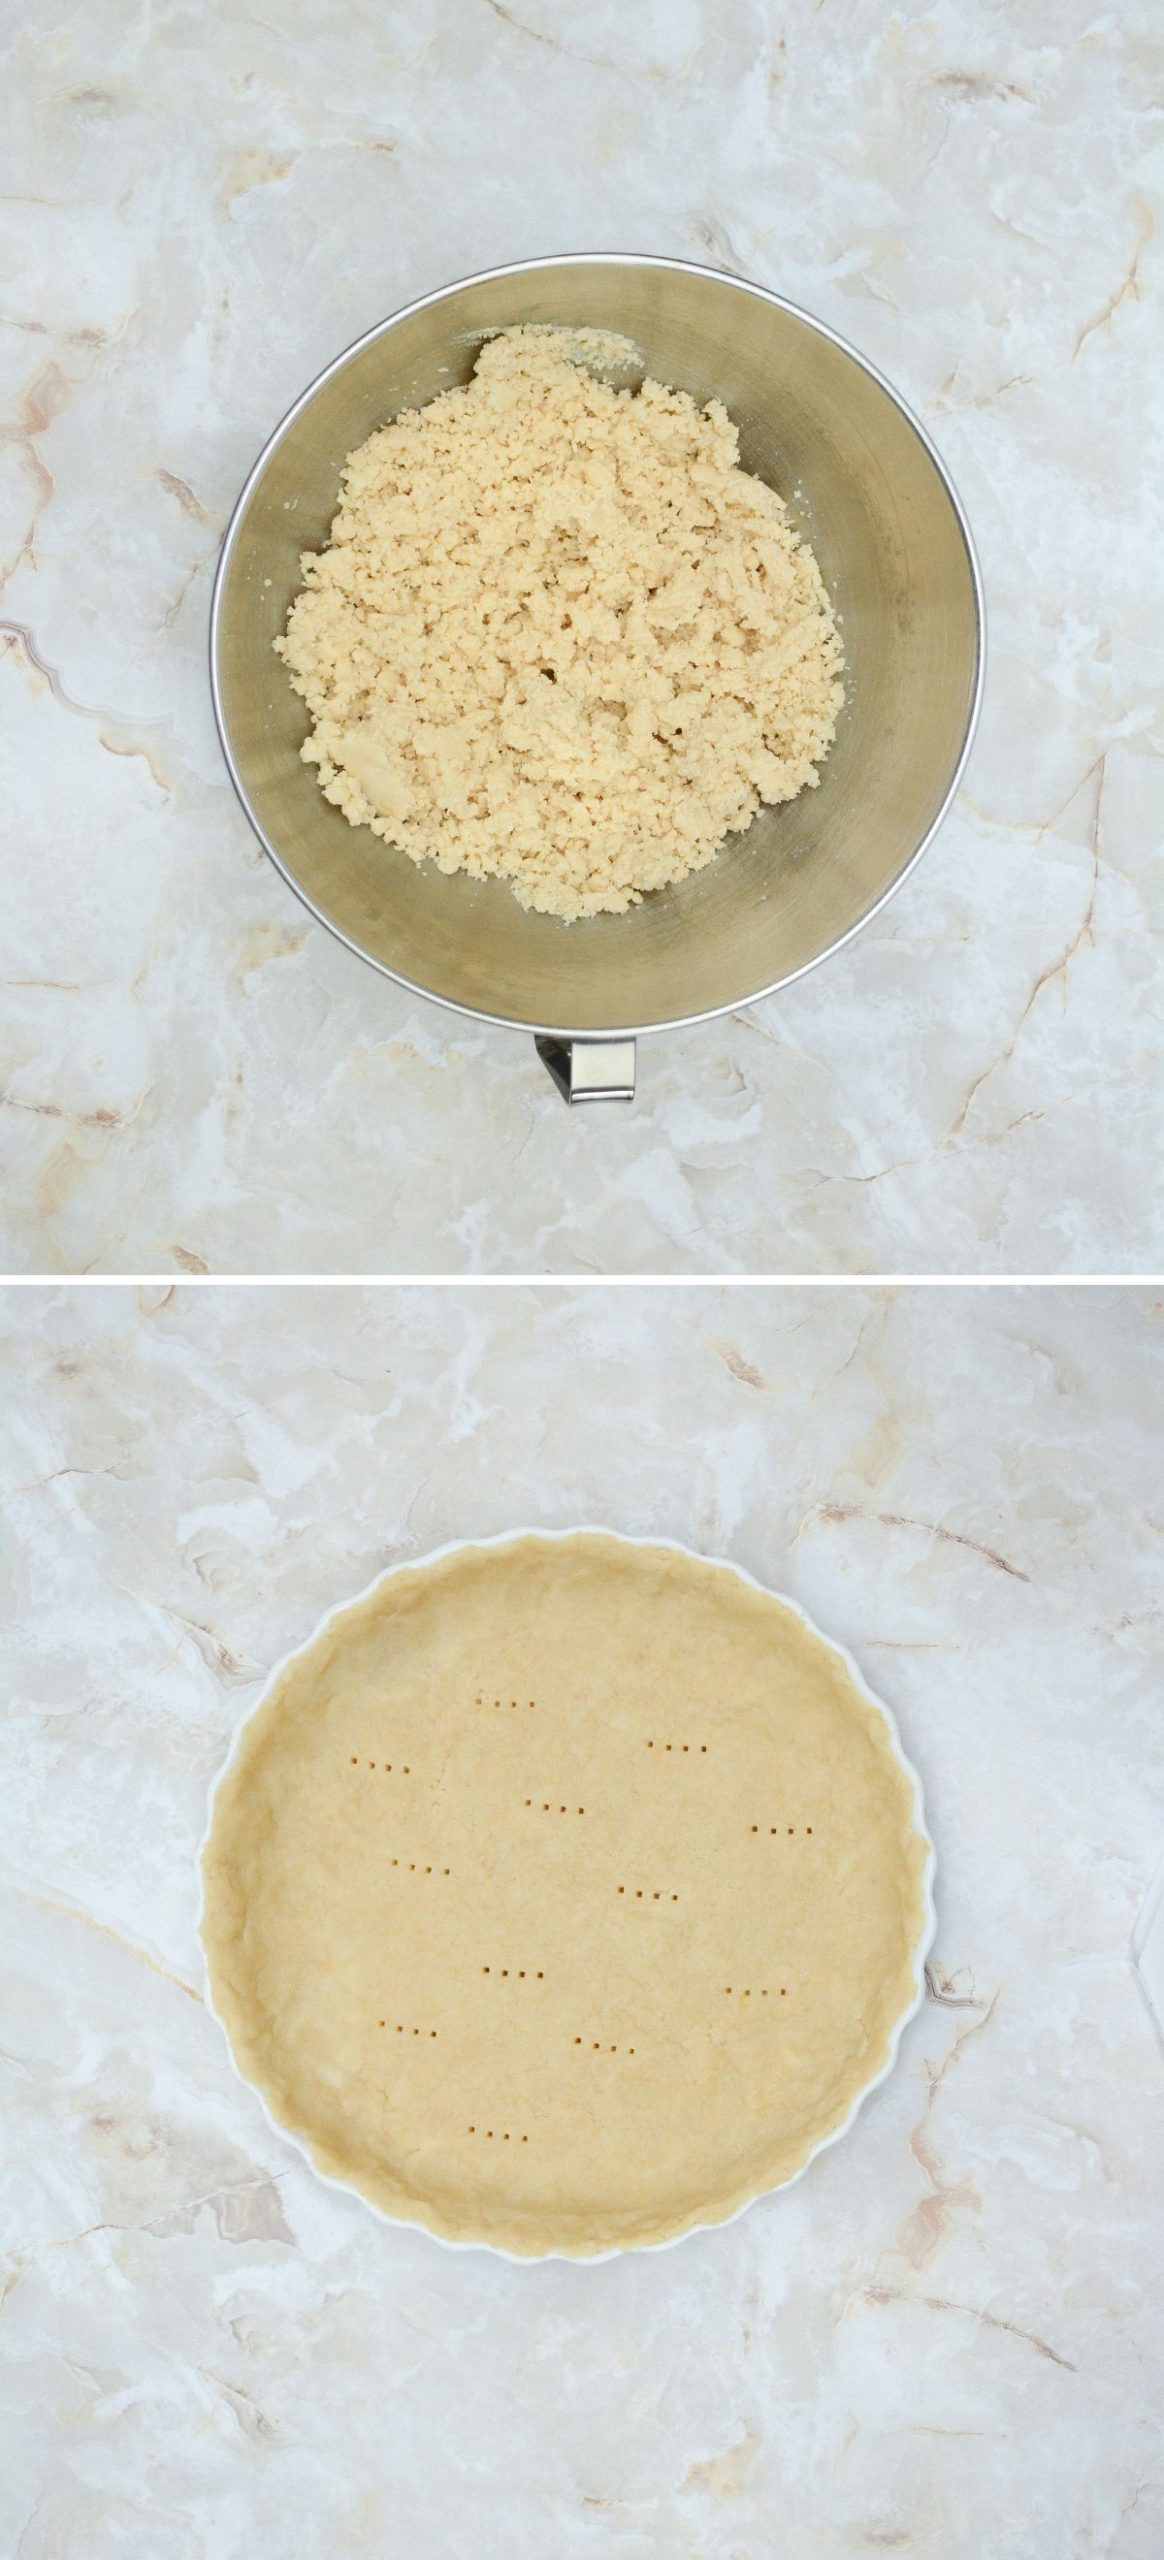
Bake in the preheated oven for approximately 12-15 minutes or until slightly golden brown. Set aside and allow to cool while you make the filling.
To make the filling, in a large saucepan, combine the flour, cornstarch, salt, and sugar. Whisk to combine.
Pour in the milk and whisk well. Turn on the heat to medium and whisk occasionally until boiling.
In a large bowl, combine the vanilla bean paste and the egg yolks.
Once the milk mixture just begins to boil, pour about one cup’s worth into the egg mix and stir constantly.
Once well combined, pour in another cup’s worth and continue to stir. Finally, pour the remaining milk mixture in with the eggs and stir well.
Return the custard to the saucepan and heat over medium. Stir constantly until the mixture thickens, about 5 minutes.

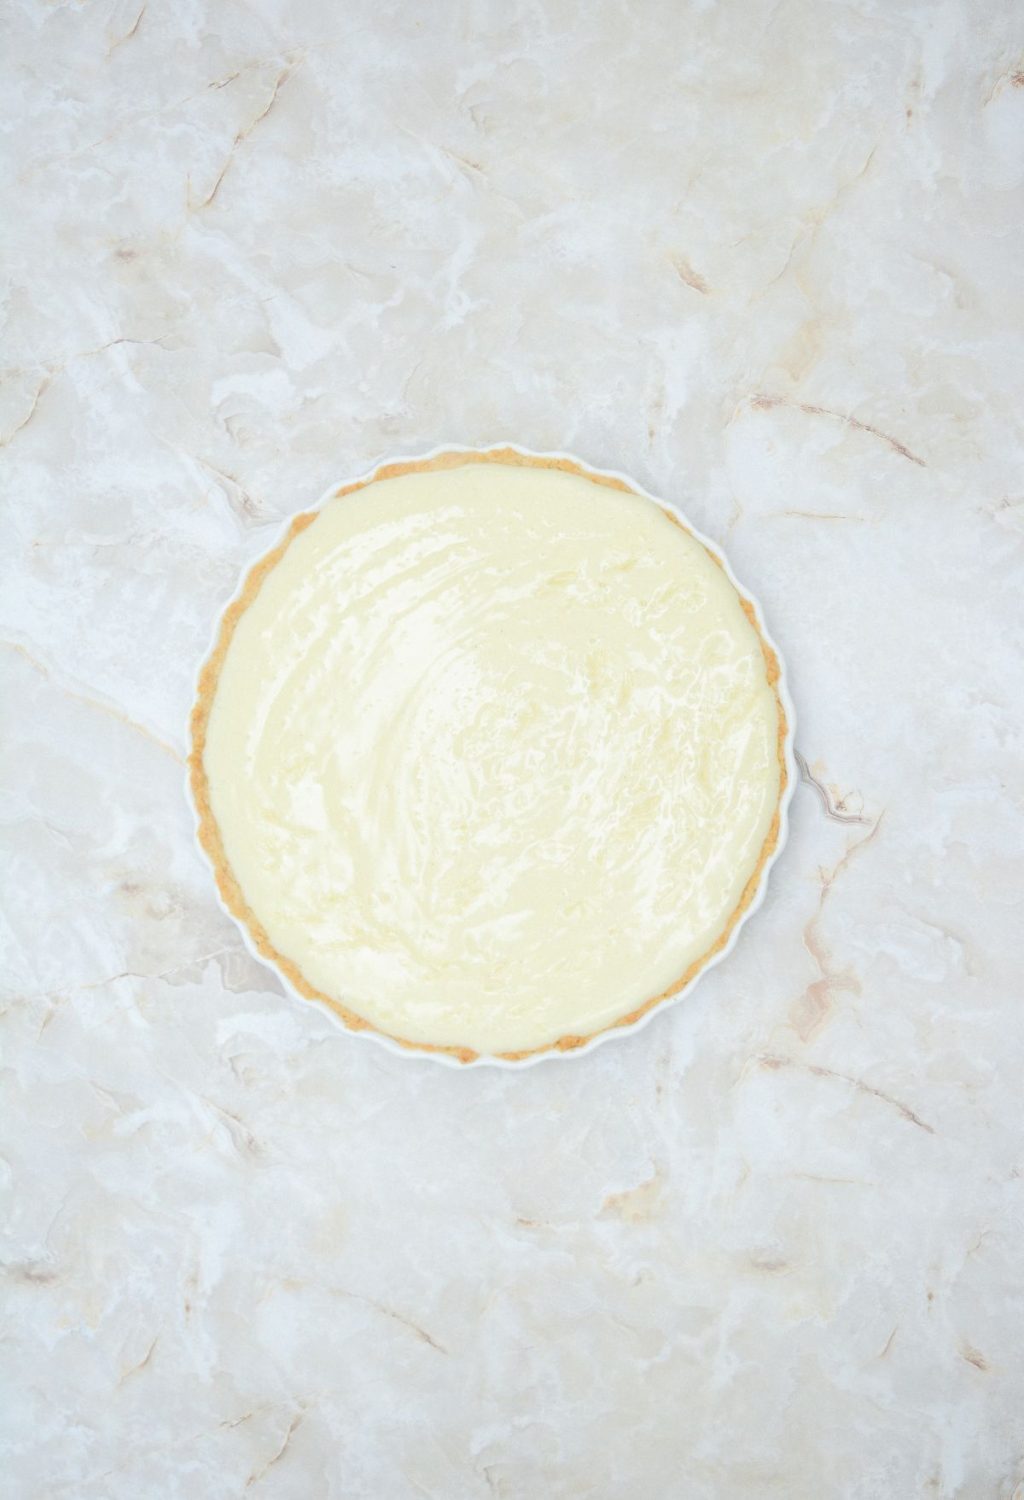
Remove from the heat and pour the custard into the cooled crust. Cover with plastic wrap and place in the refrigerator for at least 4 hours or overnight.
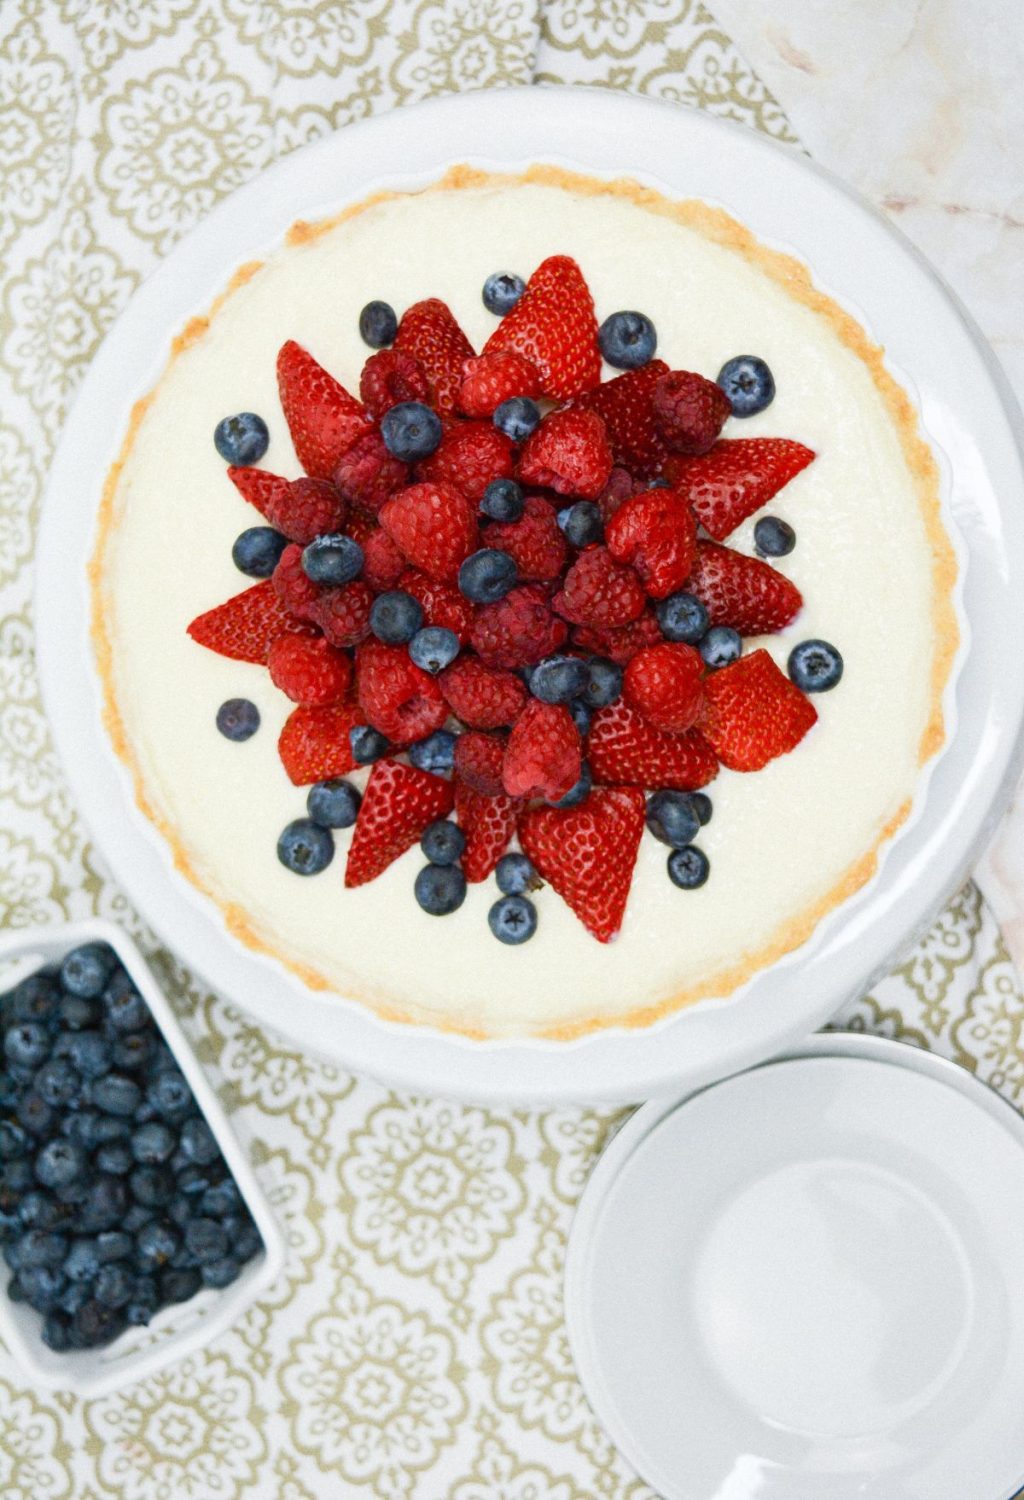
When ready to serve, decorate with fresh berries, such as strawberries, raspberries, blueberries, or blackberries.
Tips and Variations for Making the Perfect Berry Tart
When it comes to making your berry tart, there are plenty of tips and variations to consider. Here are some ideas to help you create the perfect dessert:
Crust Variations:
- You can use a store-bought pie crust or graham cracker crust if you’re short on time. Both options work well with the berry tart filling.
- If you prefer a nutty flavor, you can try making a crust with crushed nuts like almonds or pecans.
- For a gluten-free version, use a gluten-free pie crust or make a crust using almond flour or oat flour.
Fruit Toppings:
- Mix and match your favorite berries for the topping. Consider using strawberries, blueberries, raspberries, and blackberries for a colorful assortment.
- Experiment with seasonal fruits such as peaches, plums, or cherries to add variety to your tart.
- To enhance the flavor, lightly macerate the berries in sugar and lemon juice before arranging them on top of the tart.
Preparing Ahead:
- If you’re short on time, you can make the crust and custard ahead of time. Store the crust in the refrigerator and the custard in an airtight container until you’re ready to assemble the tart.
- Just before serving, assemble the tart by spreading the custard over the crust and arranging the berries on top for a fresh presentation.
Tips for a Perfect Crust:
- Use cold butter when making the crust. Cold butter helps create a flaky and tender texture.
- Prick the crust with a fork before blind baking to prevent it from puffing up during baking.
- Chill the crust in the refrigerator before baking to minimize shrinkage and maintain its shape.
- To prevent a soggy bottom, brush a thin layer of melted white chocolate on the bottom of the crust before adding the filling.
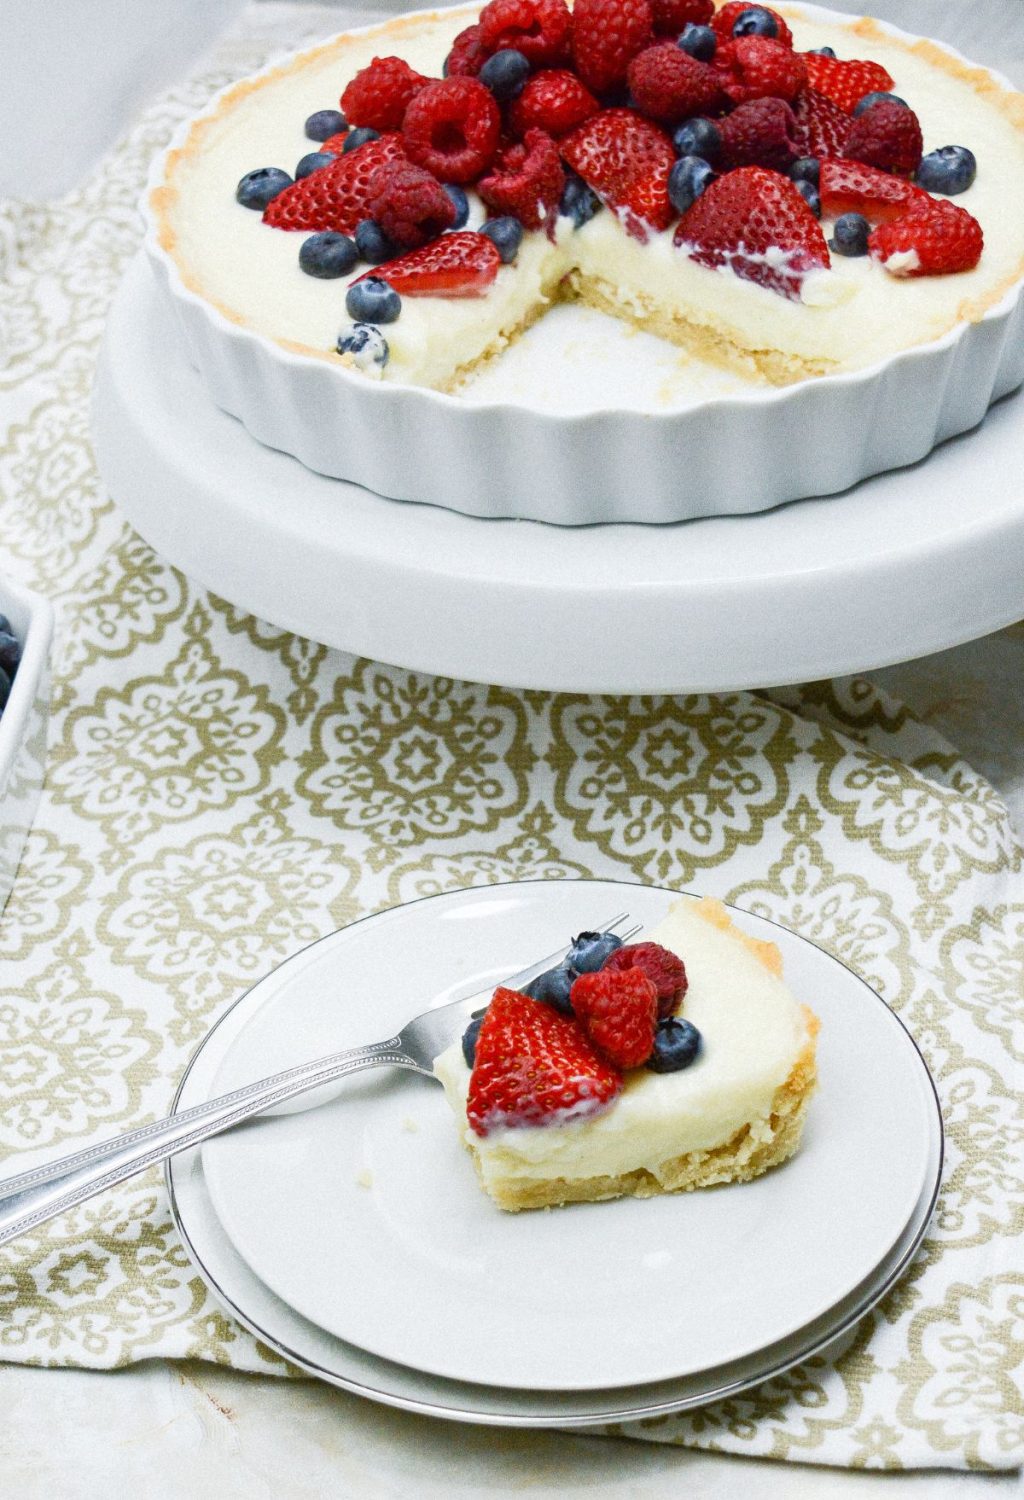
With these tips and variations, you can customize your berry tart to suit your taste preferences and create a stunning dessert that will impress your guests.
Don’t forget to store any leftovers in the fridge for up to 3 days to savor the deliciousness of your homemade berry tart.
Easy Berry Tart Recipe
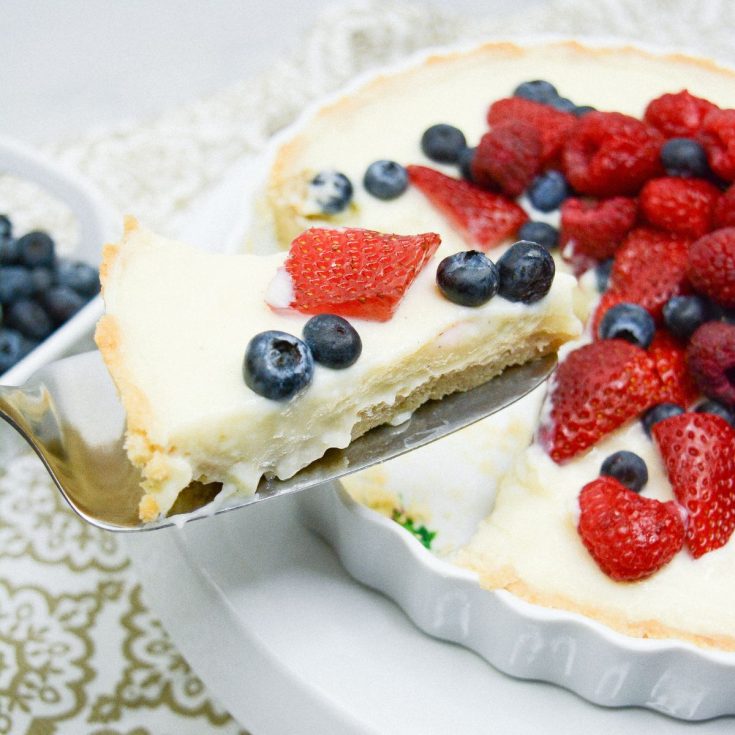
Berry Tart is a buttery tart shell filled with vanilla custard and adorned with an array of fresh berries, with a burst of fruity freshness.
Ingredients
For the crust:
- ½ cup unsalted butter, softened
- ⅓ cup sugar
- 1 ¼ cups flour
- 2 tablespoons milk
- 1 teaspoon vanilla
For the custard:
- 3 tablespoons flour
- 5 tablespoons cornstarch
- ¾ cup sugar
- 5 cups milk
- ½ teaspoon salt
- 2 egg yolks
- 2 tablespoons vanilla bean paste (or regular vanilla extract)
For decoration:
- 1 ½ cups mixed berries (strawberries, blueberries, raspberries, etc.)
Instructions
- Preheat the oven to 375 degrees.
- In the bowl of a stand mixer, combine the butter and sugar, and cream until smooth.
- Add in the flour, milk, and vanilla, and combine well. Continue mixing until the mixture forms a dough and pulls away from the sides of the mixing bowl.
- Press the dough into the bottom and sides of your tart baking dish, keeping it even all the way around.
- Using a fork, pierce the bottom of the crust a few times to prevent air pockets from forming during baking.
- Bake in the preheated oven for approximately 12-15 minutes or until slightly golden brown. Set aside and allow to cool while you make the filling.
- To make the filling, in a large saucepan, combine the flour, cornstarch, salt, and sugar. Whisk to combine.
- Pour in the milk and whisk well. Turn on the heat to medium and whisk occasionally until boiling.
- In a large bowl, combine the vanilla bean paste and the egg yolks.
- Once the milk mixture just begins to boil, pour about one cup's worth into the egg mix and stir constantly.
- Once well combined, pour in another cup's worth and continue to stir. Finally, pour the remaining milk mixture in with the eggs and stir well.
- Return the custard to the saucepan and heat over medium. Stir constantly until the mixture thickens, about 5 minutes.
- Remove from the heat and pour the custard into the cooled crust. Cover with plastic wrap and place in the refrigerator for at least 4 hours or overnight.
- When ready to serve, decorate with fresh berries, such as strawberries, raspberries, blueberries, or blackberries.
Nutrition Information
Yield
8Serving Size
1Amount Per Serving Calories 421Total Fat 16gSaturated Fat 10gTrans Fat 0gUnsaturated Fat 6gCholesterol 89mgSodium 211mgCarbohydrates 60gFiber 2gSugar 37gProtein 9g
Conclusion
In conclusion, this Berry Tart is a delightful homemade treat that showcases the deliciousness of fresh berries.
Whether you’re hosting a brunch or a special event, this tart is sure to impress your guests.
The combination of flavors and textures in this homemade berry tart will leave everyone wanting more.
So why not give this easy berry tart recipe a try and enjoy a taste of summer all year round?
Whether you’re a fan of strawberries, blueberries, raspberries, or blackberries, this tart is a perfect way to make the most of these seasonal fruits.
This homemade berry tart is sure to become a favorite in your dessert repertoire.
Follow us on Pinterest and PIN IT FOR LATER!

