Mouth-Watering BBQ Picnic Chicken Recipe You Need to Try
BBQ Picnic Chicken checks off all the boxes, it’s delicious, simple, and guaranteed to please!
The Secret to Tender and Juicy BBQ Picnic Chicken
Summer is almost here so bring on the delicious aromas of charred chicken, smokey potatoes, and tangy barbeque sauce!
This dish is made with only two ingredients, chicken breasts, and your favorite BBQ sauce.

We like to use our local BBQ sauces like Loganberry, which is local to Buffalo, NY, or Peach Bourbon.
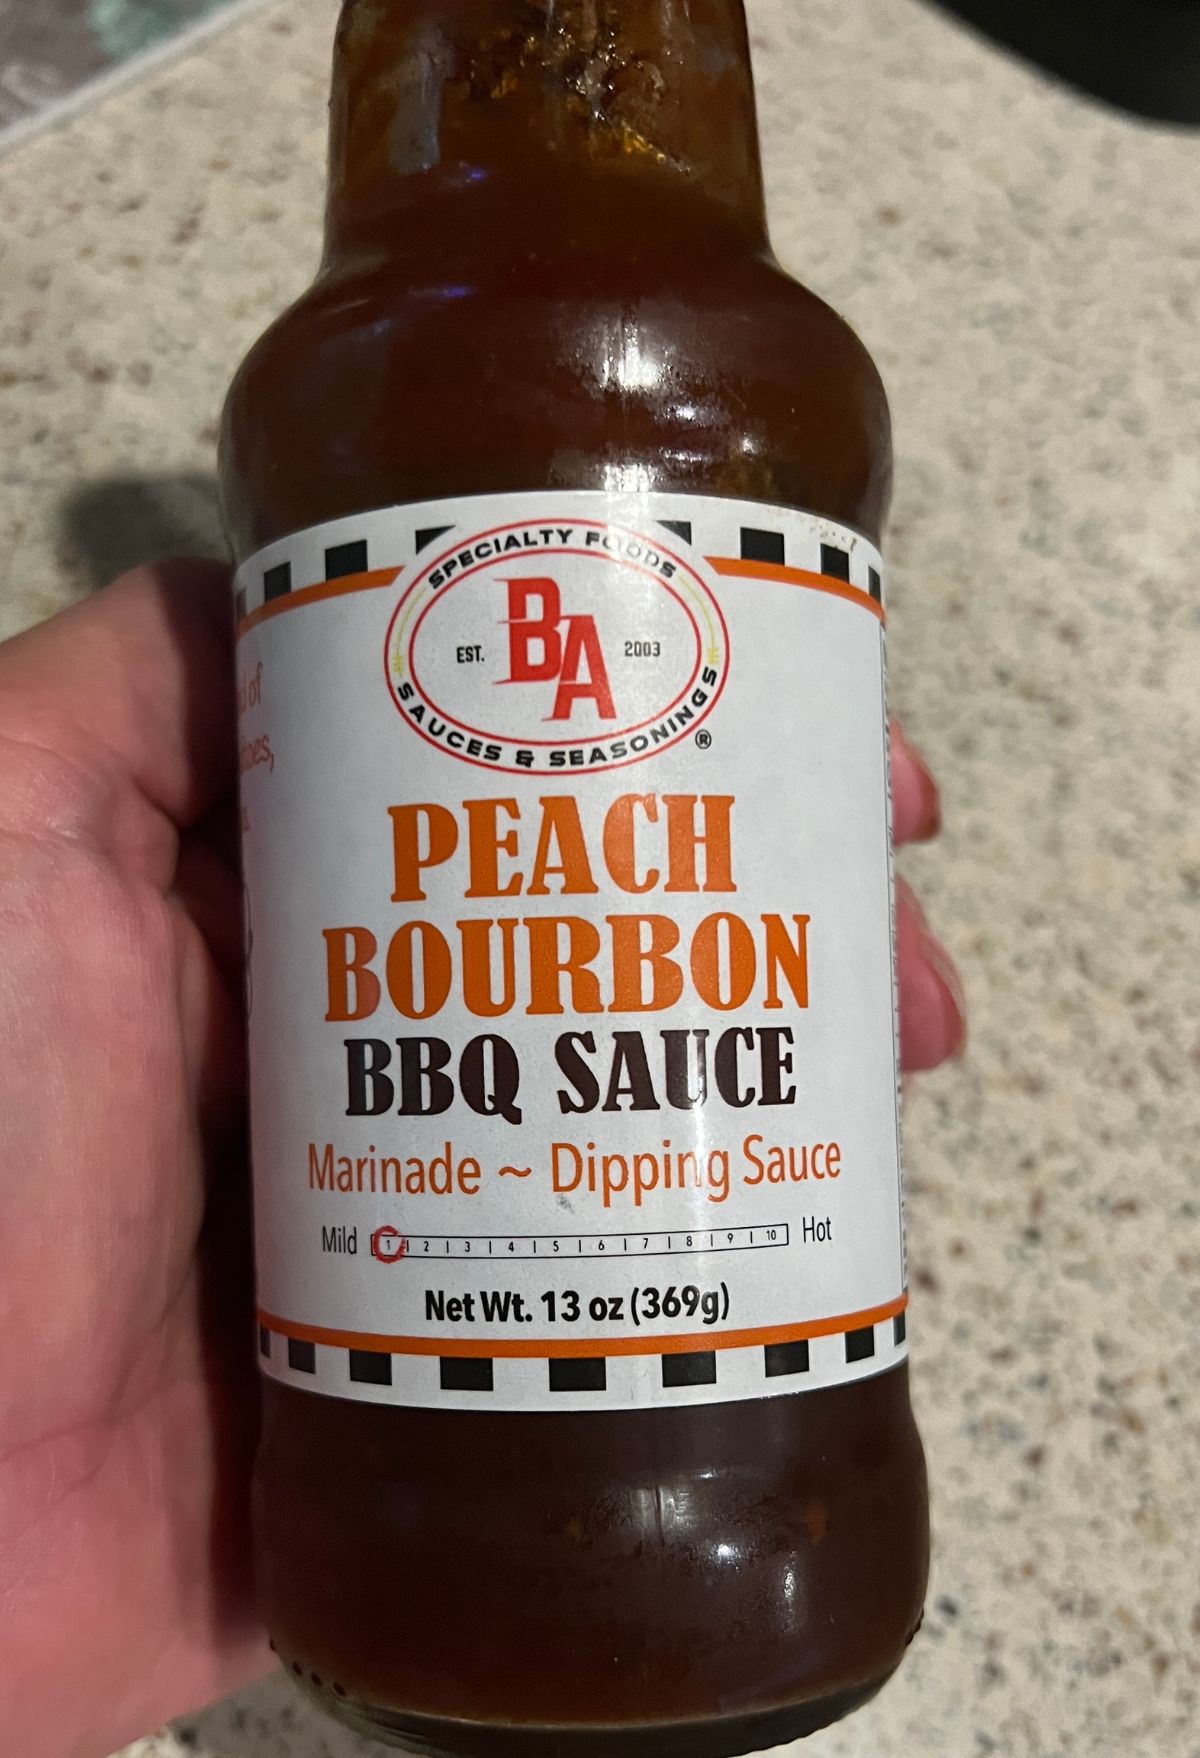
However, you can use your favorite such as sweet homemade barbecue sauce.
It’s perfect for a summertime barbecue or a weeknight dinner, and it pairs wonderfully with side dishes like macaroni salad, corn on the cob, or roasted vegetables such as green beans and bacon.
Plus, you can customize the heat level to suit your taste by making your own concoction.
Picnic food that is easy to make and enjoyable for everyone should always be a top priority.
BBQ Picnic Chicken checks off all the boxes, it’s delicious, simple, and guaranteed to please!
To help you get your outdoor feast underway, I’m sharing my favorite picnic-style BBQ chicken recipe.
This dish is packed full of flavor thanks to tender quarters and sweet barbecue sauce.
Serve it hot off the grill with roasted vegetables or potato salad.
Either way, your family and friends are sure to love this take on classic American fare.
Read on for step-by-step instructions plus some helpful hints so you can recreate this mouthwatering meal at home!

Serves: 6
Prep: 10 Minutes
Grill Time: 45 Minutes
Barbecue Chicken Ingredients
- Chicken leg quarters or chicken thighs
- BBQ sauce ( use your favorite)
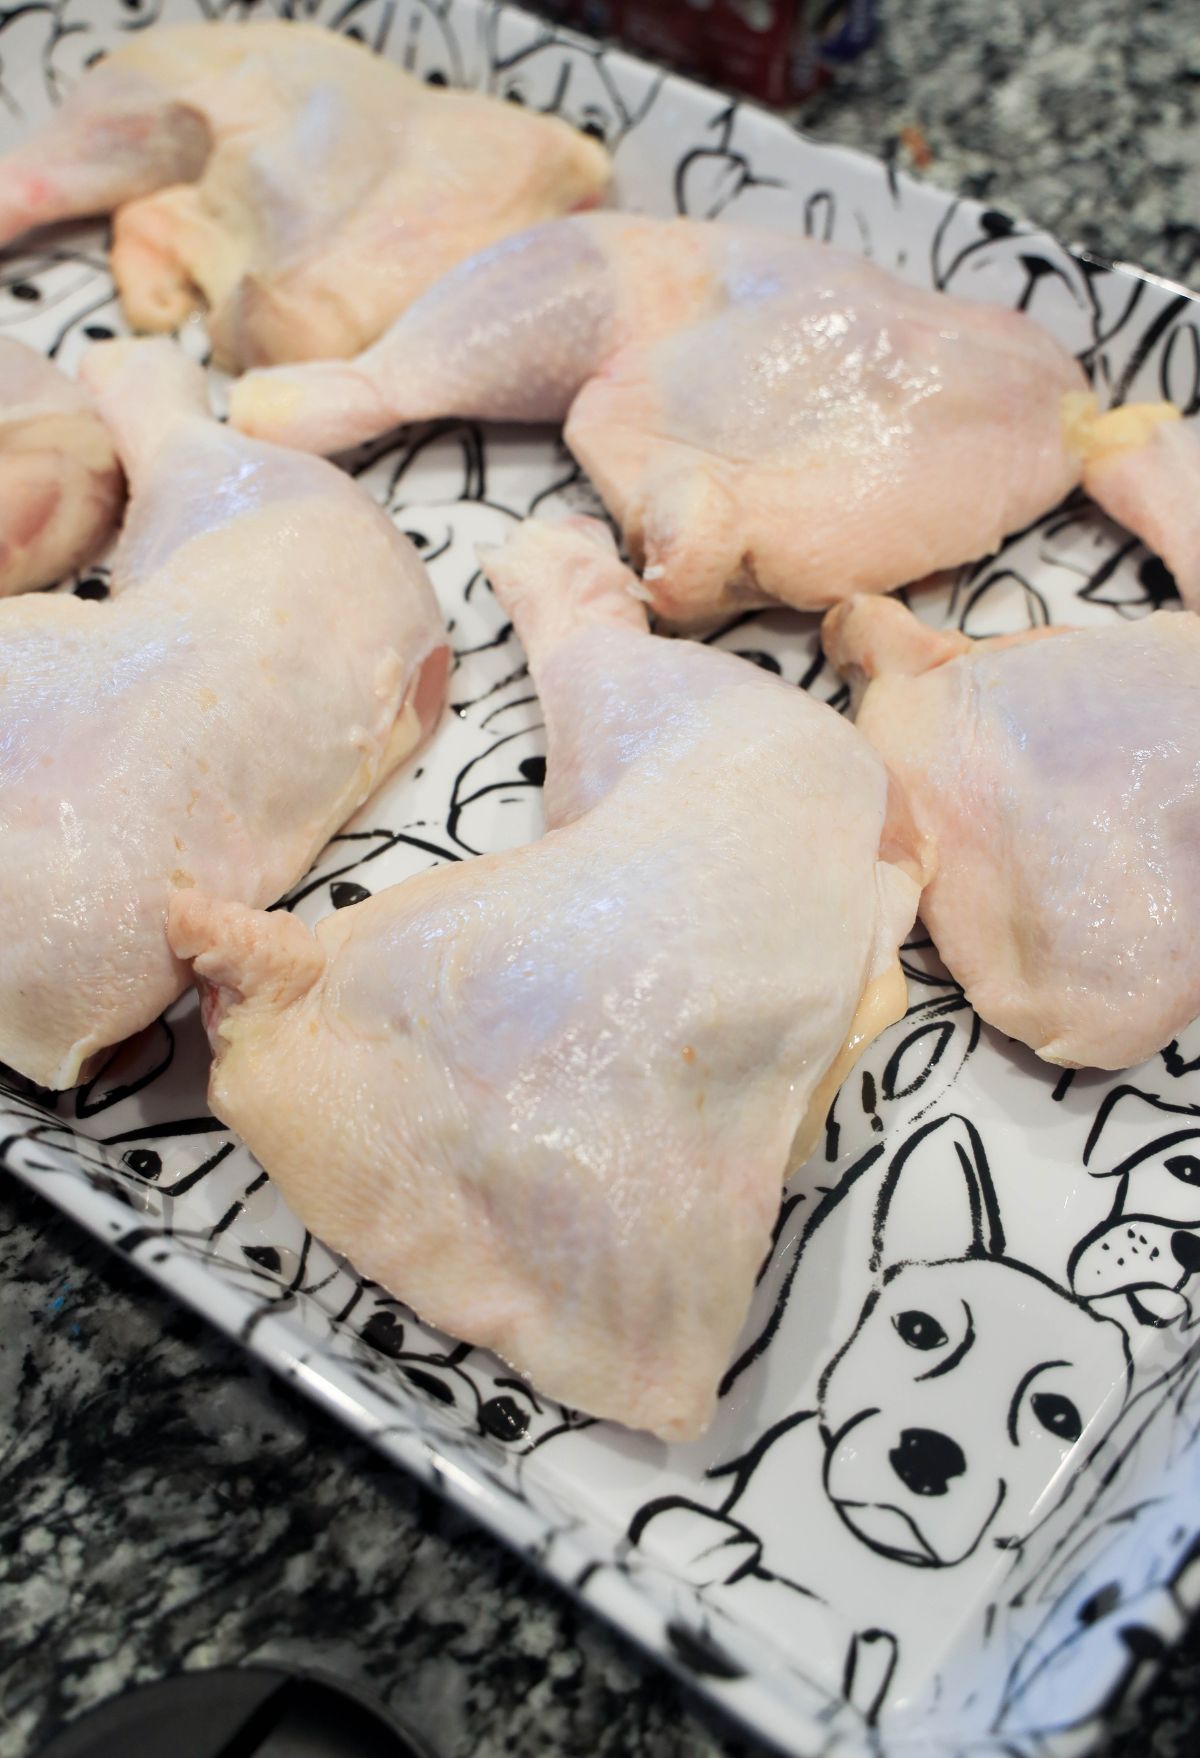
For exact measurements, please see the Printable Recipe Card below.
Supplies Needed
- Charcoal
- Lighter Fluid
- Lighter
- Paper towels
- Charcoal grill or gas grill
How to Grill Perfect BBQ Picnic Chicken
Get Your Grill Going: How to Light Charcoal
Arrange the Charcoal
The first thing you need to do is arrange your charcoal on the charcoal grill.
Whether you opt for an even layer or a neat mound, make sure the charcoal is arranged in such a way that it maximizes contact and helps the fire spread.

Once you’ve made a deliberate arrangement, carefully squirt the lighter fluid following the manufacturer’s instructions.
Be sure to never apply the fluid to hot coals or flames as this could be very dangerous.
Light the Charcoal
Once you’ve successfully applied the lighter fluid, it’s time to light the charcoal.
Notably, you should light the fluid immediately after applying it to the charcoal.
When doing so, use a long match or lighter to spark the lighter fluid. After lighting the charcoal, let it heat up for at least 15 minutes before cooking.
Use Long-Handled Utensils for Cooking
During the cooking process, use long-handled utensils to rearrange or add more charcoal as needed to adjust the temperature.
Since the grill may turn out to be quite hot, this will help you avoid burns or accidents.
Know When Your Coals Are Ready
Your charcoals will never provide a good cooking experience if they’re not ready. The best time to cook is when your coals are ready.
They become ready when they’re mostly covered in gray ash, and the process takes around 15 minutes or so.

This indicates that they have reached a uniform temperature and are ready for cooking.
Once your coals are ready, spread them out evenly on the grill and get cooking!
Handling Flare-Ups
Flare-ups are natural, especially when there’s fat dripping from the meat.
The trick is to be prepared.
Have a spray bottle of water at hand to help you handle any flare-ups.
Gently spray the water on the flare-up, and it will settle down.
Ready to Cook
Place chicken pieces on a lightly greased grill rack over medium heat and sauce well.
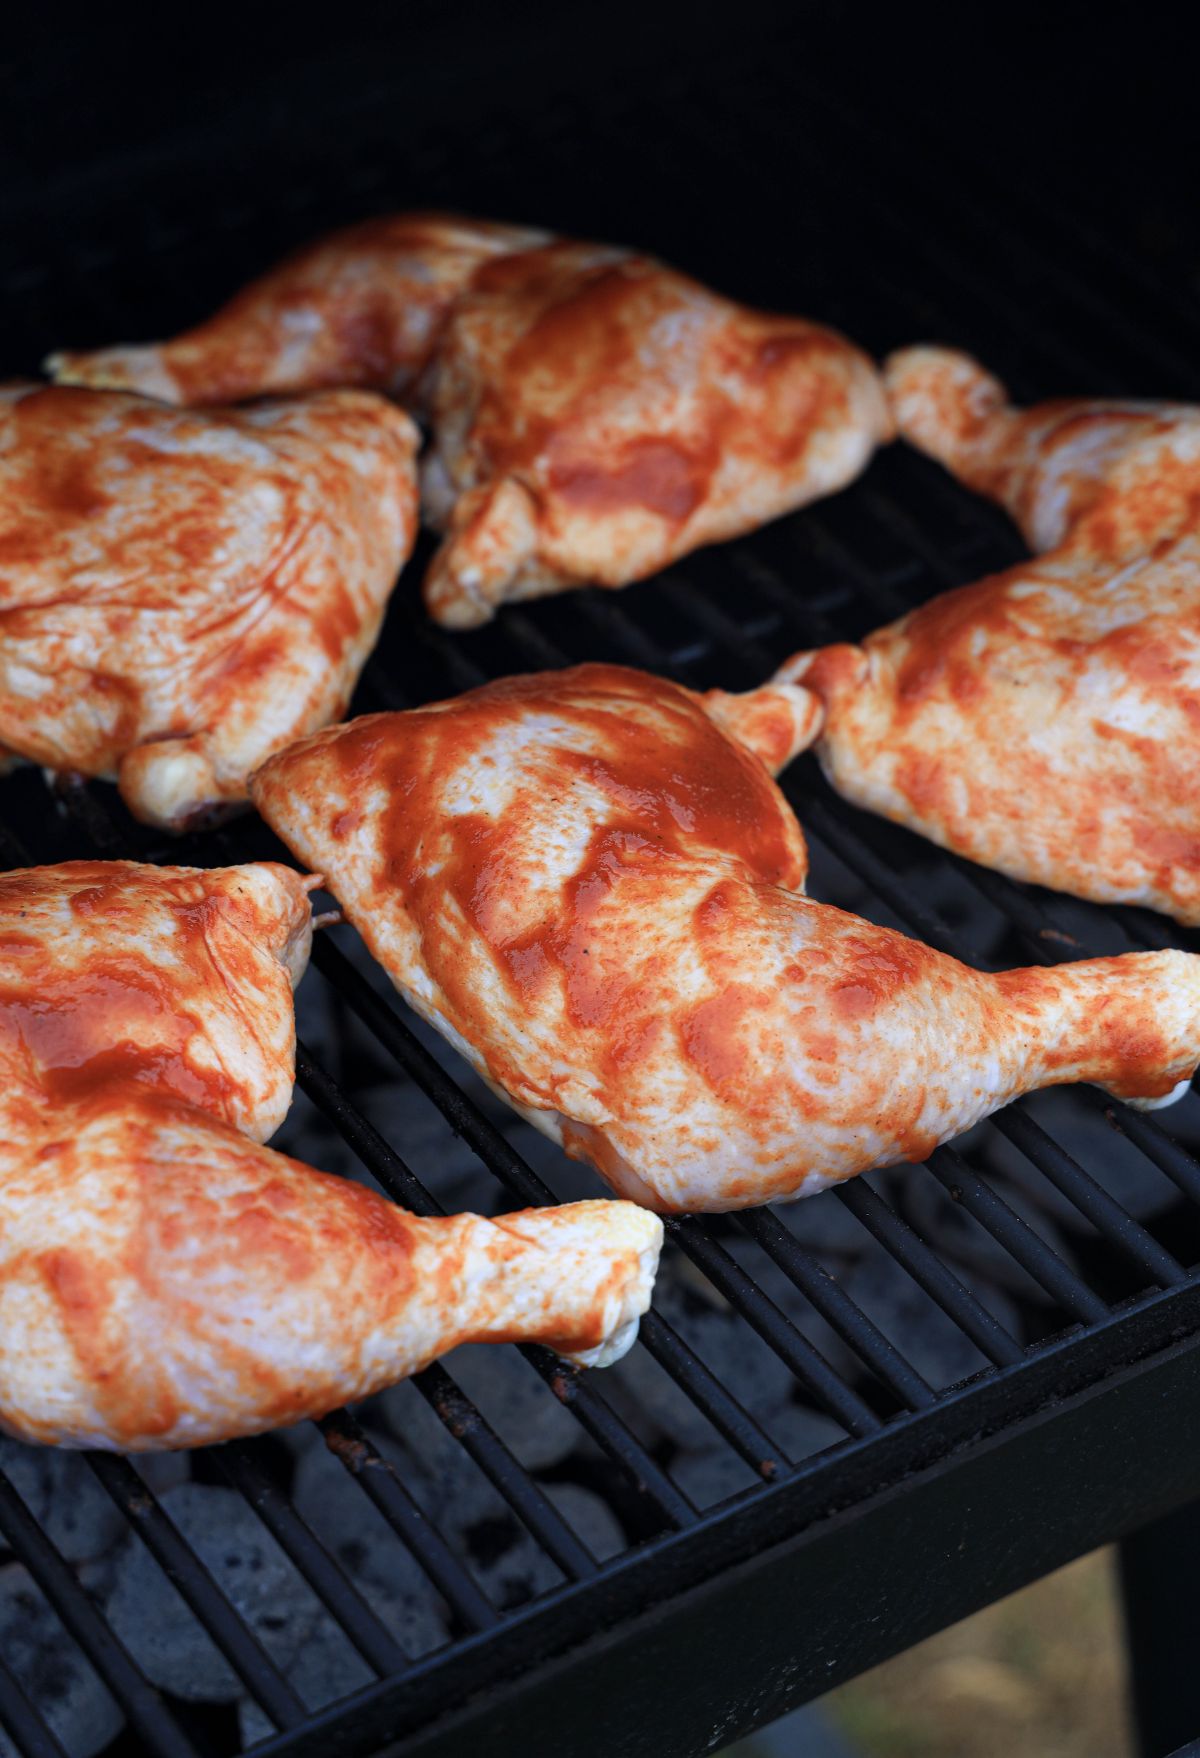
Let the chicken cook and flip the chicken every 5 minutes. This keeps it from burning.

Repeat adding sauce at every turn.
Grill chicken until it temps out at 175 to 180 degrees F with a meat thermometer.

This is best for dark meat as it renders the fat at this stage.
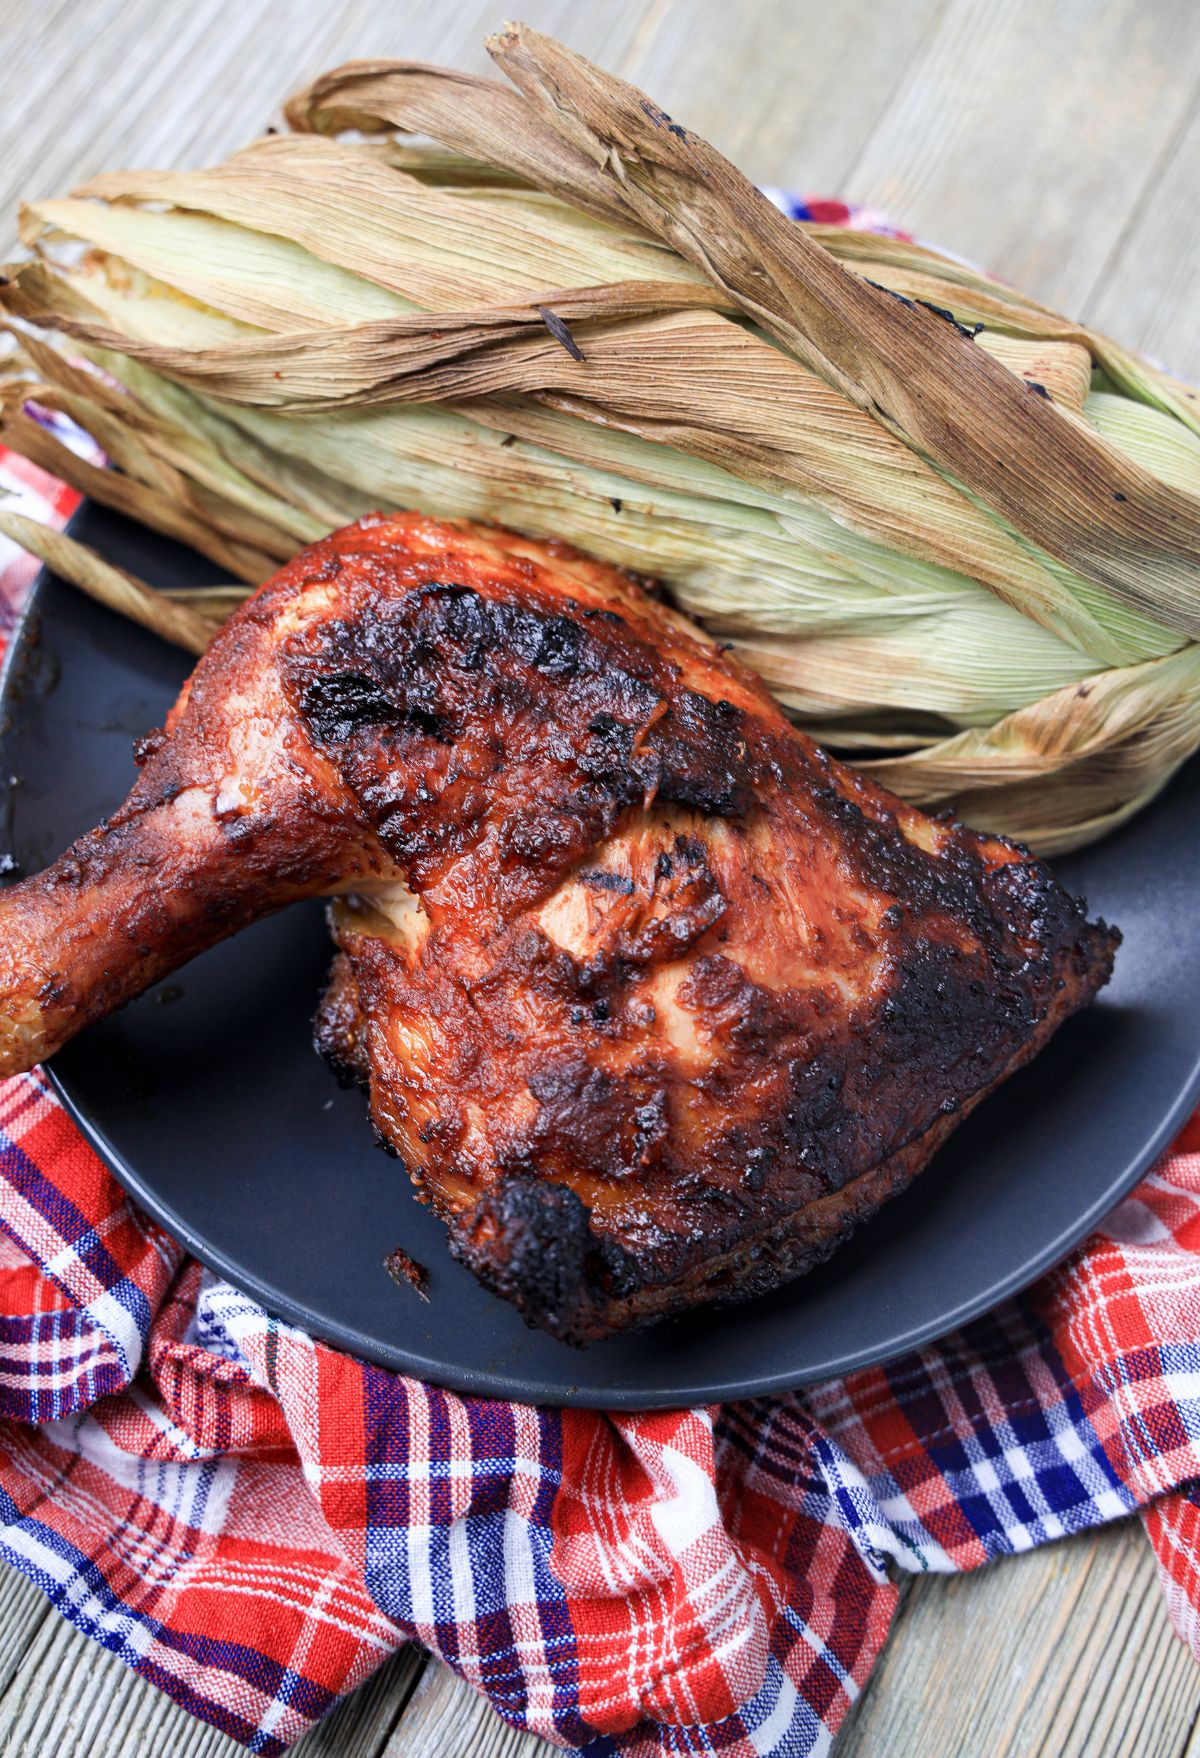
Remove and serve with your favorite BBQ side dish.
How to Store Leftovers and Reheat
Store any leftovers in an airtight container in the refrigerator for up to 3 days.
Reheat in the oven to 350 degrees for about 15 minutes.
You can also reheat it in the air fryer at 390 for 10 minutes for a crispy outer layer.
Variations
Make these in oven in a baking dish or in a slow cooker.
Use chicken breasts to make chicken sandwiches.
Saute garlic cloves in olive oil with some brown sugar in a medium saucepan then fry the chicken in it for a more savory chicken.
Combine BBQ sauce with hot sauce, a cup chili sauce, cup cocktail sauce, or 2 tablespoons Worcestershire sauce.
Nutritional Information
- 26 g fat
- 2 g carbohydrates
- 67 g protein
- 0 g fiber
- 355 mg cholesterol
- 349 mg sodium
Printable Recipe Card
Easy BBQ Picnic Chicken Recipe

BBQ Picnic Chicken checks off all the boxes with little effort. It's delicious, simple, packed full of flavor, and guaranteed to please!
Ingredients
- 6 Chicken leg quarters or chicken thighs
- 1 jar BBQ sauce ( use your favorite)
Supplies Needed
- Charcoal
- Lighter Fluid
- Lighter
Instructions
Arrange the Charcoal
- The first thing you need to do is arrange your charcoal.
- Whether you opt for an even layer or a neat mound, make sure the charcoal is arranged in such a way that it maximizes contact and helps the fire spread.
- Once you’ve made a deliberate arrangement, carefully squirt the lighter fluid following the manufacturer’s instructions.
- Be sure to never apply the fluid to hot coals or flames as this could be very dangerous.
Light the Charcoal
- Once you’ve successfully applied the lighter fluid, it’s time to light the charcoal.
- Notably, you should light the fluid immediately after applying it to the charcoal.
- When doing so, use a long match or lighter to spark the lighter fluid. After lighting the charcoal, let it heat up for at least 15 minutes before cooking.
Use Long-Handled Utensils for Cooking
- During the cooking process, use long-handled utensils to rearrange or add more charcoal as needed to adjust the temperature.
- Since the grill may turn out to be quite hot, this will help you avoid burns or accidents.
Know When Your Coals Are Ready
- Your charcoals will never provide a good cooking experience if they’re not ready. The best time to cook is when your coals are ready.
- They become ready when they’re mostly covered in gray ash, and the process takes around 15 minutes or so.
- This indicates that they have reached a uniform temperature and are ready for cooking.
- Once your coals are ready, spread them out evenly on the grill and get cooking!
Handling Flare-Ups
- Flare-ups are natural, especially when there’s fat dripping from the meat.
- The trick is to be prepared.
- Have a spray bottle of water at hand to help you handle any flare-ups.
- Gently spray the water on the flare-up, and it will settle down.
Ready to Cook
- Place the chicken on the grill and sauce well.
- Flip chicken every 5 minutes. This keeps it from burning.
- Repeat adding sauce at every turn.
- Cook until the chicken temps out at 175 to 180 degrees F with a meat thermometer.
- This is best for dark meat as it renders the fat at this stage.
- Remove and serve with your favorite BBQ side dish.
Notes
How to Store Leftovers and Reheat
Store any leftovers in an airtight container in the refrigerator for up to 3 days.
Reheat in the oven to 350 degrees for about 15 minutes.
You can also reheat it in the air fryer at 390 for 10 minutes for a crispy outer layer.
Variations
Make these in oven in a baking dish or in a slow cooker.
Use chicken breasts to make chicken sandwiches.
Saute garlic cloves in olive oil with some brown sugar in a medium saucepan then fry the chicken in it for a more savory chicken.
Combine BBQ sauce with hot sauce, a cup chili sauce, cup cocktail sauce, or 2 tablespoons Worcestershire sauce.
Nutrition Information
Yield
6Serving Size
1Amount Per Serving Calories 531Total Fat 26gSaturated Fat 7gTrans Fat 0gUnsaturated Fat 16gCholesterol 355mgSodium 349mgCarbohydrates 2gFiber 0gSugar 2gProtein 67g
Final Thoughts
With little effort, you and your family can experience the joys of outdoor dining at family picnics without spending hours slaving away in the kitchen.
BBQ Picnic Chicken is a surefire way to bring everyone together around the dinner table.
And it’s also one of my favorite recipes for a backyard barbecue.
Follow us on Pinterest and PIN IT FOR LATER!

